

Buying a phone because of megapixels is the fastest way to ruin your photos.
Sensor size, real optical zoom, and smart processing shape what a phone can actually capture.
This guide cuts through marketing to show the camera specs that matter, including sensor area, aperture, lenses, stabilization, and computational tricks, and explains trade-offs in plain terms.
By the end you’ll know which features to check and which to ignore so you can pick a smartphone that really delivers pro-level shots.
Key Factors That Determine How to Choose a Smartphone for Photography
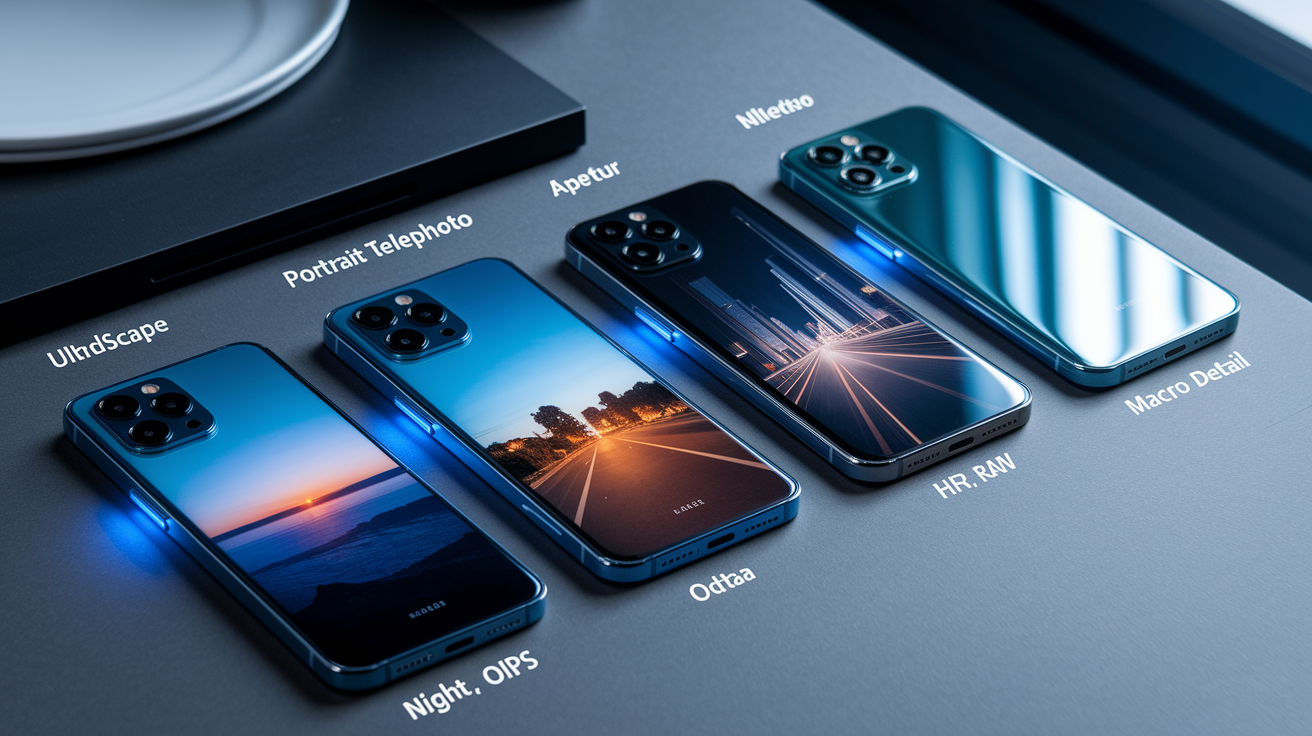
Sensor size is the big one when you’re looking at smartphone camera systems. Bigger sensors grab more light and keep noise down, especially when things get dim. Full-frame sensors give you roughly 856 mm² of light-gathering space, a 1-inch sensor drops to around 116 mm², and most flagship smartphone sensors land somewhere in the 1/1.28-inch range (about 71 mm²). Budget models often squeeze things down to 1/2.3-inch sensors with way less capture area. That gap in physical real estate explains why dedicated cameras still win for huge prints and telephoto shots, though modern computational tricks close that gap a lot for everyday use.
Lens variety and actual optical zoom decide how flexible your compositions can be. Flagships usually pack three or four rear modules: an ultrawide (10–20mm full-frame equivalent), a wide (24–35mm), a standard telephoto (50–80mm), and sometimes a longer telephoto beyond 80mm. When you tap those 0.5×, 1×, 2×, 3×, 5×, or 10× presets in your camera app, the phone switches to a different physical lens built for that view. Optical zoom gives you way cleaner results than digital zoom, which just crops the sensor and guesses at pixels. The Pixel 8 Pro gives you 5× optical with a 48-megapixel telephoto module, the iPhone 15 Pro Max goes to 5× optical at 12 megapixels, and the Samsung Galaxy S23 Ultra hits 10× optical with a 10-megapixel periscope lens. Each setup trades off resolution, aperture, and module size differently.
Computational photography now matters as much as hardware for your final image. Multi-frame stacking, HDR fusion, night-mode long exposures, and AI segmentation can rescue detail and dynamic range that a single raw exposure would totally miss. Google Pixel phones merge multiple frames even when you’re saving to DNG format, keeping those computational wins in the raw file. Most other phones spit out single-frame DNGs that skip all the computational help, leaving you to recreate those gains yourself in post. Stabilization splits into digital (which crops the frame and uses gyroscope data) and optical: lens-based OIS shifts glass elements around, while sensor-shift systems move the whole sensor to fix roll and tilt, giving you sharper handheld shots and advanced tricks like pixel-shift high-resolution capture.
What actually matters when you’re choosing a smartphone photography system:
- Sensor size and light-capture area – Bigger sensors cut noise and boost dynamic range. Check specs in mm² or diagonal measurements like 1/1.28 inch.
- Aperture values across all lenses – Wider apertures (smaller f-numbers) pull in more light and let you get shallower depth of field. Primary sensors usually sit between f/1.4 and f/1.9.
- Stabilization tech – You want phones that combine optical image stabilization (OIS) with electronic stabilization (EIS). Sensor-shift OIS gives you the best correction.
- Optical versus digital zoom – Real optical zoom switches to a dedicated telephoto module. Digital zoom kills quality. Hybrid zoom blends both.
- Dynamic range and HDR processing – Look for multi-frame HDR capture, especially in night mode, so you keep highlight and shadow detail at the same time.
- Lens selection and focal coverage – Check whether the phone’s ultrawide, wide, and telephoto focal lengths fit what you actually shoot (portraits, landscapes, sports).
- Software features and manual controls – Pro modes with manual ISO, shutter speed, focus, and raw capture let you override automatic processing when you need to.
Understanding Smartphone Camera Sensors for Better Photography Decisions
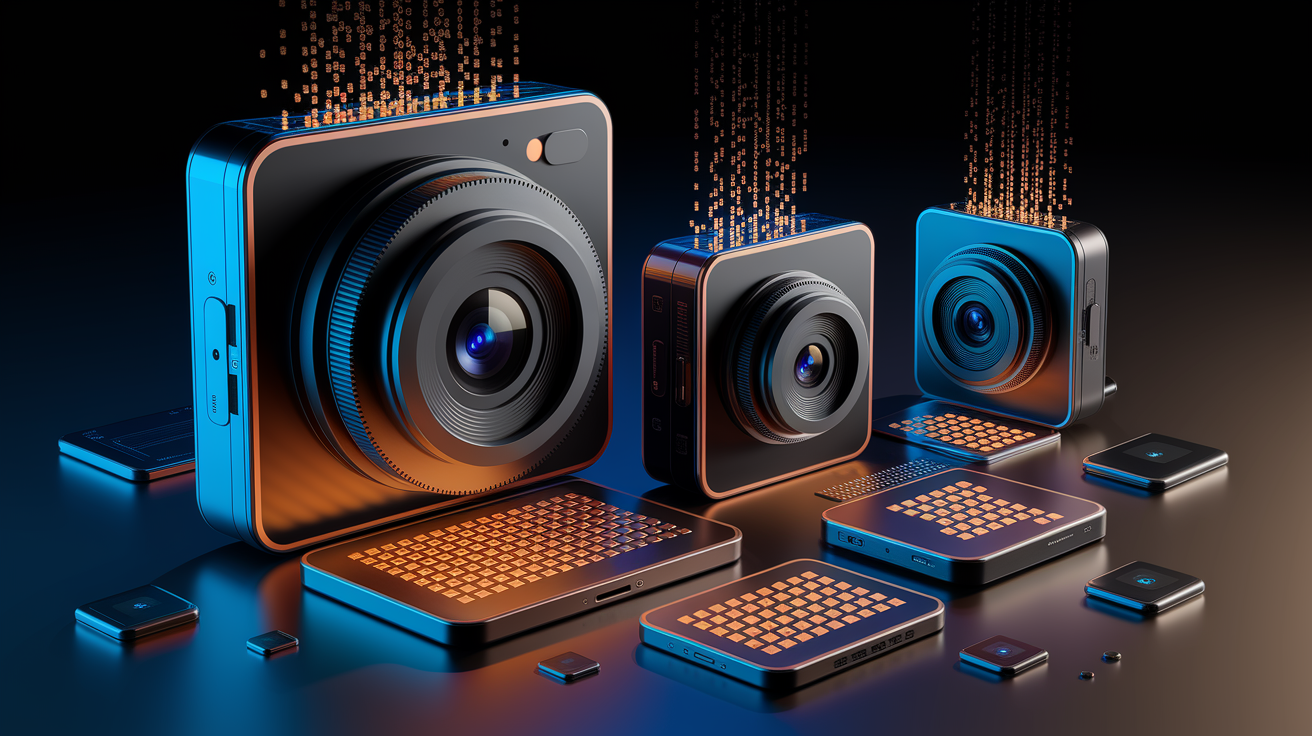
Sensor size decides how much light each pixel can grab, which directly controls noise, dynamic range, and whether you get smooth tonal transitions. Marketing teams love to shout about megapixel counts, but a 200-megapixel sensor crammed into a tiny 1/1.28-inch area spreads those pixels so tight that each one grabs less light than the bigger pixels on a 12-megapixel 1-inch sensor. Pixel binning (combining four or nine neighbor pixels into one “super pixel”) helps high-res sensors handle low light better by adding up photon counts. The Samsung Galaxy S23 Ultra uses a 200-megapixel main sensor with binning to give you brighter, cleaner images in dim scenes, then flips to full resolution when there’s enough light and detail actually matters. Google Pixel phones do something different by capturing multiple exposures and merging them into a single DNG file, so you keep those computational gains even in raw workflows. Single-frame raw files from most other phones skip that multi-frame detail and noise reduction, so you’re stuck replicating the work in Lightroom or another editor.
The table below compares light-capture area across common sensor formats. Even the best smartphone sensors grab only a fraction of the light that flows into a full-frame or 1-inch sensor, which is why small-sensor phones struggle with telephoto focal lengths and shallow depth of field. When you’re checking specs, convert sensor diagonal measurements (like 1/1.28 inch) into approximate area so you understand real-world low-light capability.
| Sensor Type | Approx. Light Capture Area |
|---|---|
| Full-frame (35 mm) | ~856 mm² |
| 1-inch | ~116 mm² |
| 1/1.28-inch | ~71 mm² |
| 1/2.3-inch | ~28 mm² (crop factor ~5.64) |
Lens Types and Optical Characteristics That Matter When Choosing a Photography Phone
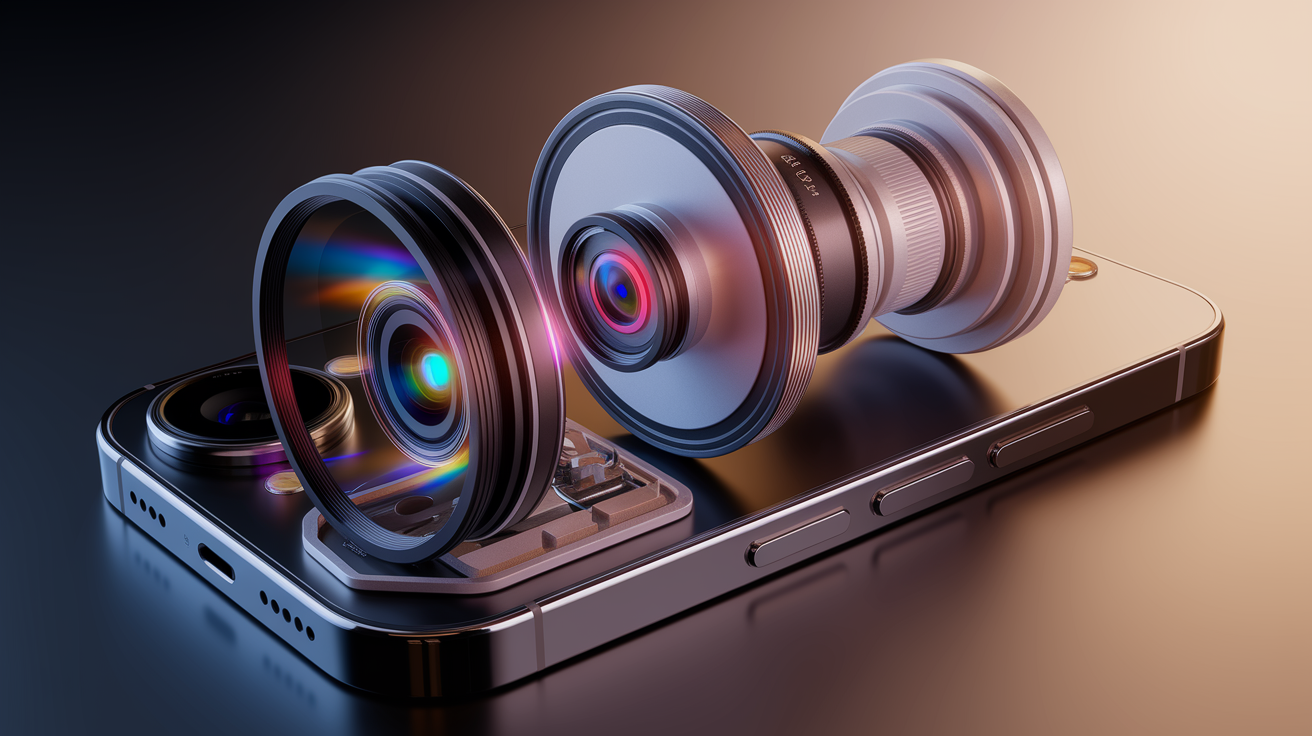
Ultrawide modules (10–20mm full-frame equivalent) crush it for architecture, interiors, and big landscapes but bring edge distortion and softer corners unless the phone corrects them computationally. Wide modules (24–35mm) act as the primary camera on most phones, packing the largest sensor, widest aperture, and best overall image quality. Standard telephoto lenses (50–80mm equivalent) work great for portraits and everyday framing, while long telephoto modules (80mm and beyond) pull distant subjects close, which you need for sports, wildlife, and events. The Samsung Galaxy S21 Ultra showed that a 10× periscope telephoto could actually fit inside a phone body by folding the optical path with a prism, delivering genuine optical zoom where competitors had to rely on digital cropping. The Pixel 8 Pro’s 5× telephoto uses a 48-megapixel sensor, so you get extra digital zoom with less quality loss than smaller sensors. The iPhone 15 Pro Max does 5× optical at 12 megapixels with a tetraprism design.
Macro modules show up on tons of midrange and budget phones (OnePlus Nord N200, OnePlus 8T, Pocofone F3 all include 2 to 5-megapixel macro lenses), but image quality rarely impresses. Dedicated macro modules usually use fixed focus, tiny sensors, and narrow apertures, so they only produce acceptable results in bright light. An add-on clip-on macro lens attached to the main camera often gives you way better sharpness and color because it taps into the phone’s best sensor and processing. Lens coatings and element count also matter. Multi-element designs with anti-reflective coatings cut down flare and ghosting when you shoot into light sources, while single-element budget lenses struggle with contrast and chromatic aberration.
Zoom strategy separates real camera phones from marketing gimmicks. When you tap a preset zoom level (0.5×, 1×, 2×, 3×, 5×, or 10×), the phone should switch to a lens optically designed for that field of view. Pinching to zoom between presets fires up digital zoom, cropping the active sensor and guessing at pixels, which kills resolution and cranks up noise. Some phones use hybrid zoom, blending data from multiple lenses to build intermediate focal lengths with better quality than pure digital crop. Huawei’s P30 Pro pioneered field-of-view fusion for smoother zoom transitions. Periscope telephoto modules give you extreme optical reach in a slim phone body but sacrifice aperture. The 10× lens on the S23 Ultra opens to f/4.9, so low-light performance can’t match the f/1.8 main camera.
Optical zoom advantages, digital zoom drawbacks, hybrid zoom behavior, periscope lens considerations, and lens-quality factors:
- Optical zoom uses a dedicated physical lens built for that focal length, keeping resolution, dynamic range, and detail without fake pixel guessing.
- Digital zoom crops the sensor and upscales pixels, cutting effective resolution and boosting noise, especially in low light.
- Hybrid zoom blends data from multiple camera modules to build intermediate focal lengths, giving you better quality than pure digital crop but still worse than true optical zoom.
- Periscope lenses fold the light path with prisms to fit long telephoto optics into thin phone bodies, getting you 5× to 10× optical zoom, but they usually use smaller apertures (f/4.0–f/4.9) that limit low-light performance.
- Lens element count and coatings decide flare resistance, contrast, and chromatic aberration control. Multi-element designs with anti-reflective treatments beat single-element budget lenses, especially when you’re shooting into bright light or at night.
Aperture, Stabilization, and Low-Light Choices for Smartphone Photography Buyers
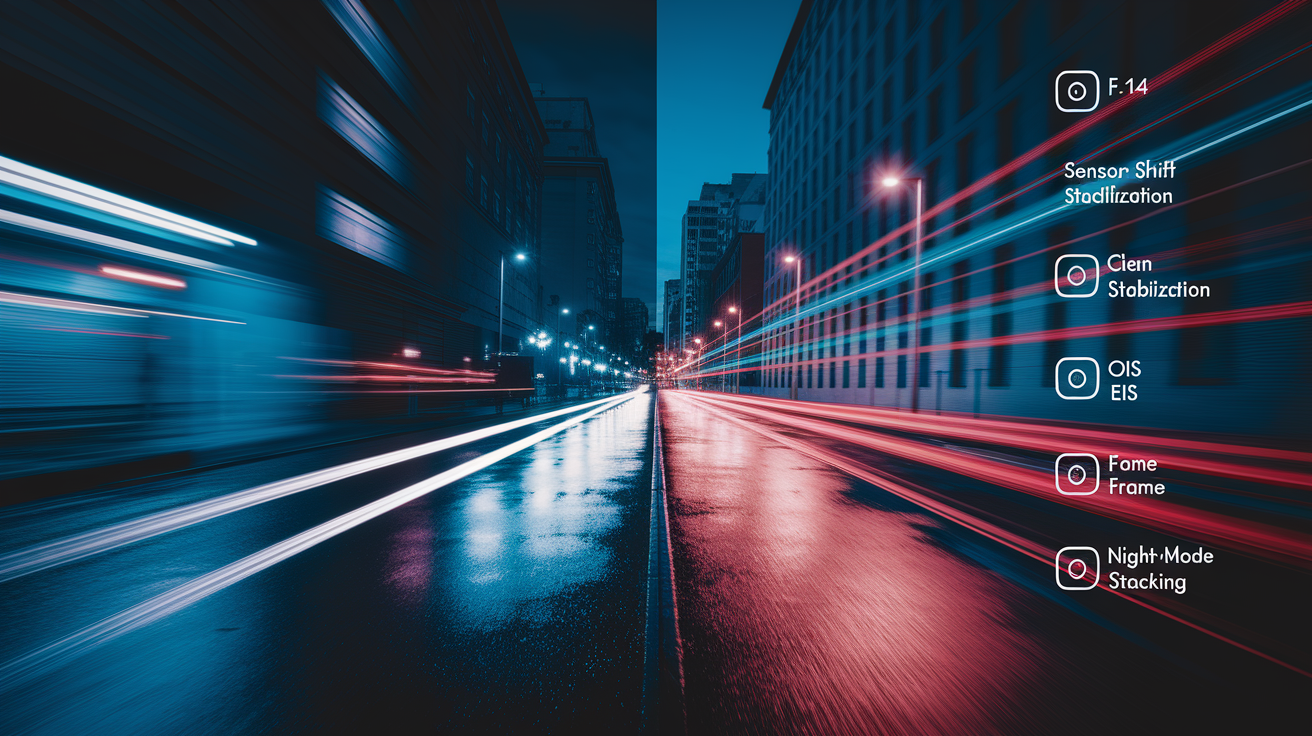
Aperture controls how much light hits the sensor in a given exposure duration. A wider aperture (smaller f-number, like f/1.4 versus f/2.2) grabs more photons, so you can use faster shutter speeds that freeze motion and cut blur. Small smartphone sensors already struggle with limited light-gathering area, so aperture becomes even more important. An f/1.4 lens on a 1/2.3-inch sensor gives you roughly the same depth of field and light-gathering performance as f/7.9 on a full-frame camera, which shows you the huge crop-factor penalty. Night mode makes up for this by stacking multiple long exposures, merging frames to knock down noise while computational algorithms line up details and recover highlights. Phones with bigger sensors and wider apertures need fewer frames and shorter stacking times, so you get cleaner night shots with less motion blur from subject movement.
Stabilization splits into digital, lens-based optical, and sensor-shift optical methods. Digital stabilization reads gyroscope data and crops the image frame to counter shake, basically giving you a buffer zone around the recorded area. This approach mimics gimbal-like smoothness in video but sacrifices edge pixels and can bring rolling-shutter artifacts during fast motion. Lens-based optical image stabilization (OIS) moves the lens assembly to fight hand tremor, stabilizing both photos and video without cropping. Sensor-shift stabilization (found in flagship iPhones and select Android models) moves the entire sensor, correcting not just pitch and yaw but also roll, and unlocking advanced techniques like pixel-shift high-resolution capture that combines multiple exposures to boost detail. The best phones layer sensor-shift OIS with digital EIS, stacking mechanical and computational correction for maximum stability during handheld 4K and 8K video recording.
Steps to test a phone’s stability and low-light behavior in-store:
-
Launch the camera app in a dimly lit section of the store and capture a photo of a detailed subject (product packaging, signage with small text) at 1× zoom. Review the image at full zoom to check for noise, sharpness, and color accuracy.
-
Switch to the telephoto preset (3× or 5×) and repeat the low-light test. Compare noise levels and detail retention against the main camera to see whether the telephoto sensor and aperture hold up in dim conditions.
-
Record a short handheld video while walking slowly, panning left and right. Play back the clip to check stabilization smoothness, rolling-shutter distortion, and focus-hunting behavior.
-
Turn on night mode or long-exposure mode and photograph a scene with both bright highlights (ceiling lights, windows) and deep shadows. Look at the result for blown highlights, blocked shadows, and color shifts that show poor dynamic range or aggressive processing.
-
Test the ultrawide lens in the same low-light scenario, checking corner sharpness, distortion correction, and whether the phone applies the same night-mode stacking to the ultrawide module or defaults to a noisier single exposure.
Manual Controls, RAW Capture, and Pro Mode Essentials for Smartphone Photography
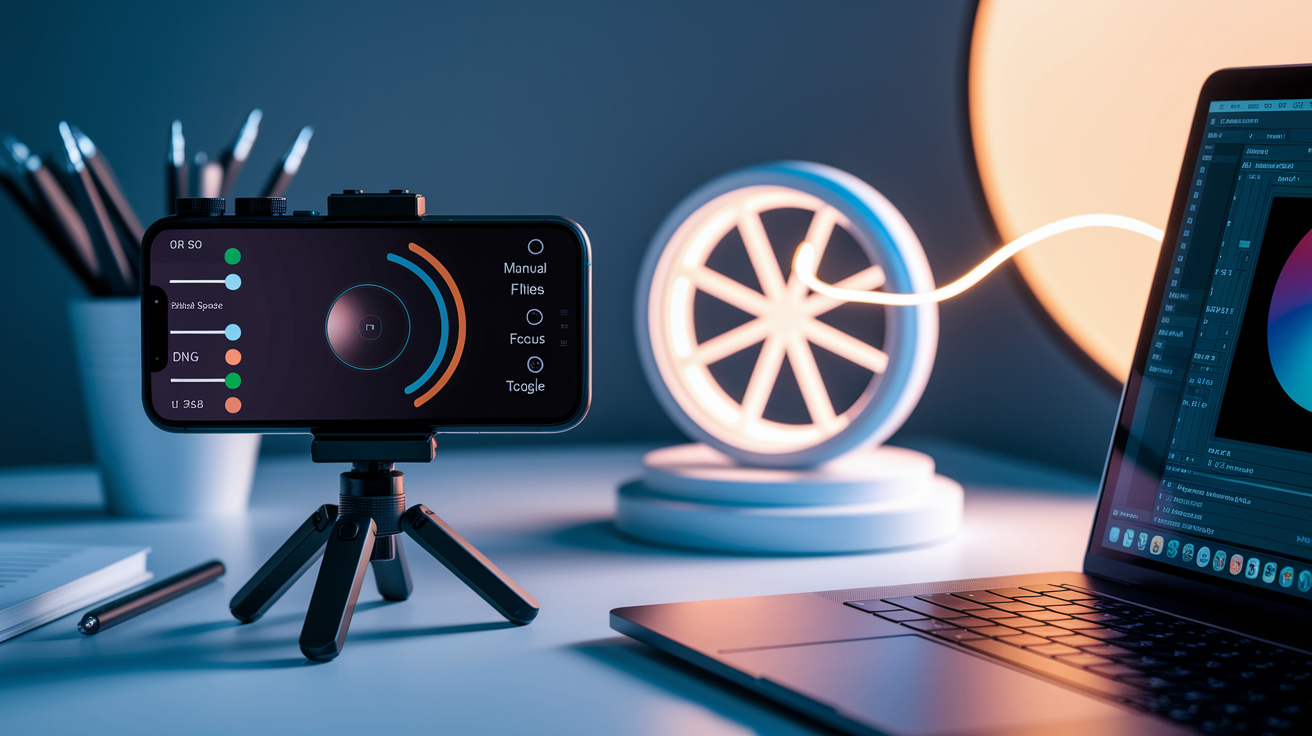
Pro mode or manual mode unlocks direct control over ISO sensitivity, shutter speed, white balance, and focus, so you can override the phone’s automatic decisions when creative intent or tricky lighting demands it. ISO adjustments trade noise for exposure: lower ISO values (50–200) keep detail and color in bright scenes, while higher ISO settings (1600–6400) amplify the sensor signal in dim light, bringing grain and cutting dynamic range. Shutter speed determines motion rendering. Fast speeds (1/1000 second or shorter) freeze action, slow speeds (1/30 second or longer) blur motion or let you do long-exposure light painting. Manual focus control (often a slider in the camera app) becomes essential for macro work, video rack focus, and situations where contrast-detect or phase-detect autofocus hunts or locks onto the wrong subject.
RAW capture outputs uncompressed sensor data in DNG (Digital Negative) format, keeping maximum dynamic range and color information for editing flexibility. Most phones apply multi-frame HDR, noise reduction, and sharpening only to JPEG and HEIC outputs, leaving single-frame DNG files looking flat and noisy by comparison. Google Pixel phones break that pattern by merging multiple exposures into a single DNG file, embedding computational gains (noise reduction, dynamic-range fusion, and detail enhancement) directly into the raw data. Apple ProRAW takes a similar approach, blending multi-frame processing with raw metadata, but compatibility depends on your editing app recognizing Apple’s proprietary extensions. Phase-detection autofocus (PDAF) embeds focus pixels across the sensor, giving you faster and more accurate focus tracking than older contrast-detect systems. Dual-pixel autofocus dedicates every sensor photosite to both imaging and phase detection, delivering near-instant focus locks even in low light. Laser autofocus modules (common on older flagships) measure distance with an infrared emitter, improving speed in total darkness but offering no advantage once the subject is beyond a few meters.
Third-party camera apps often expose deeper manual control and better raw workflows than native apps. Adobe Lightroom (mobile) is free and includes full manual controls, DNG capture, and instant access to Lightroom’s editing tools. Snapseed (free) offers excellent selective editing but no manual capture. Halide Mark II (iOS) gives you a refined manual interface with focus peaking and histogram overlays. Pricing varies—users report $36 one-time or $12 per year subscriptions. ProCam X (Android, $4.99) and FiLMiC Pro (Android and iOS, $14.99) cater to video and advanced stills with professional-grade controls. Open Camera (free, Android) and its fork HedgeCam2 deliver full manual control and intervalometer functions without cost, though the interface feels utilitarian compared to paid alternatives.
| Feature | Why It Matters | What to Look For |
|---|---|---|
| RAW Capture | Keeps maximum dynamic range, detail, and color data for flexible post-processing without baked-in compression or sharpening artifacts. | DNG output support; multi-frame DNG (Pixel, ProRAW) retains computational gains; check if third-party apps unlock RAW on phones where native apps don’t. |
| ISO Control | Lets you cut noise in bright scenes by keeping ISO low, or push exposure in dim light by raising ISO, balancing grain versus brightness to match your tolerance and editing workflow. | Manual ISO range displayed in camera settings (e.g., 50–6400); native app or third-party app that shows real-time noise preview before capture. |
| Shutter Speed Control | Freezes fast action with short exposures or creates intentional motion blur and light trails with long exposures, giving creative control over time rendering. | Shutter range from 1/8000 second to several seconds; bulb mode for exposures longer than 30 seconds; real-time exposure preview to avoid clipping highlights. |
| Focus Modes | Autofocus modes (single, continuous, tracking) and manual focus give you precise subject selection, especially for macro, video rack focus, and subjects the phone’s AI might misidentify. | Continuous autofocus (AF-C) for moving subjects; focus peaking or magnified view in manual mode; touch-to-focus that locks focus and exposure separately. |
| Autofocus Technology | Phase-detection autofocus (PDAF), dual-pixel AF, and laser AF determine focus speed and accuracy in varying light; faster, more reliable AF cuts missed moments and improves video smoothness. | Dual-pixel AF or PDAF on the main sensor; laser AF module for night shooting; advertised focus speed (milliseconds) and subject-tracking performance in reviews. |
Evaluating Video Features When Choosing a Photography-Focused Smartphone
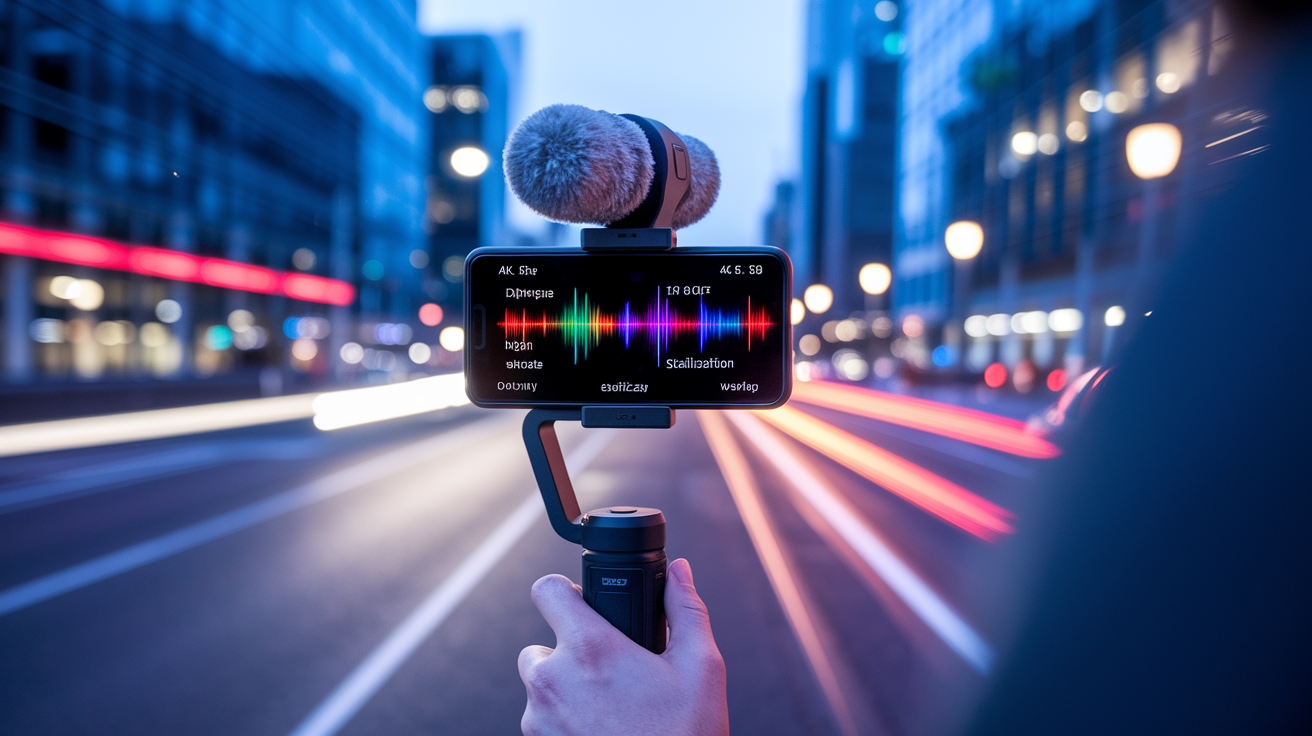
Video capability now rivals stills performance in flagship smartphones, and if you plan to shoot any motion content, the minimum acceptable capture is 4K resolution at 30 frames per second. Higher frame rates (60fps at 4K) smooth motion and let you do slow-motion playback at half speed without visible stutter, while 8K recording offers future-proofing for large displays and heavy crops in post-production, though file sizes grow massively and few phones can sustain 8K capture without thermal throttling after a few minutes. Bitrate determines video quality at a given resolution. Higher bitrates keep detail in motion and complex scenes, but not all phones expose bitrate settings in the native camera app, so you need third-party apps like FiLMiC Pro ($14.99) to unlock manual control over codec, bitrate, and color profiles.
Stabilization becomes even more critical for video than for stills because any shake compounds frame after frame. Sensor-shift OIS delivers better stabilization compared to lens-based OIS, and when combined with digital EIS, it gives you gimbal-like smoothness even during walking shots. HDR video outputs (HDR10, HDR10+, HLG (Hybrid Log-Gamma), and Dolby Vision) capture and display a wider brightness range than standard dynamic range (SDR) video, keeping highlight and shadow detail that would otherwise clip. If you edit video or view on HDR-capable displays (modern TVs, monitors, flagship phone screens), HDR capture becomes essential. If you export to social media and view on SDR screens, the phone’s tone-mapping during export handles the conversion, though you lose grading flexibility.
Microphone quality and audio inputs often get less attention than image sensors, yet poor audio ruins otherwise excellent footage. Most flagship phones include stereo microphones and wind-noise reduction, but serious video work benefits from external microphone support via USB-C or Lightning adapters. Gimbal compatibility matters if you shoot events, vlogs, or run-and-gun documentary work. Check whether popular gimbals (DJI, Zhiyun) list your phone model as compatible and whether the gimbal app can trigger recording and adjust settings without touching the phone. Some phones expose clean HDMI output or USB-C video-out for external monitoring, a feature that matters for professional workflows but stays rare outside a few Android flagships.
Photography Style Matching: Which Smartphone Camera Specs Matter Most for Your Needs
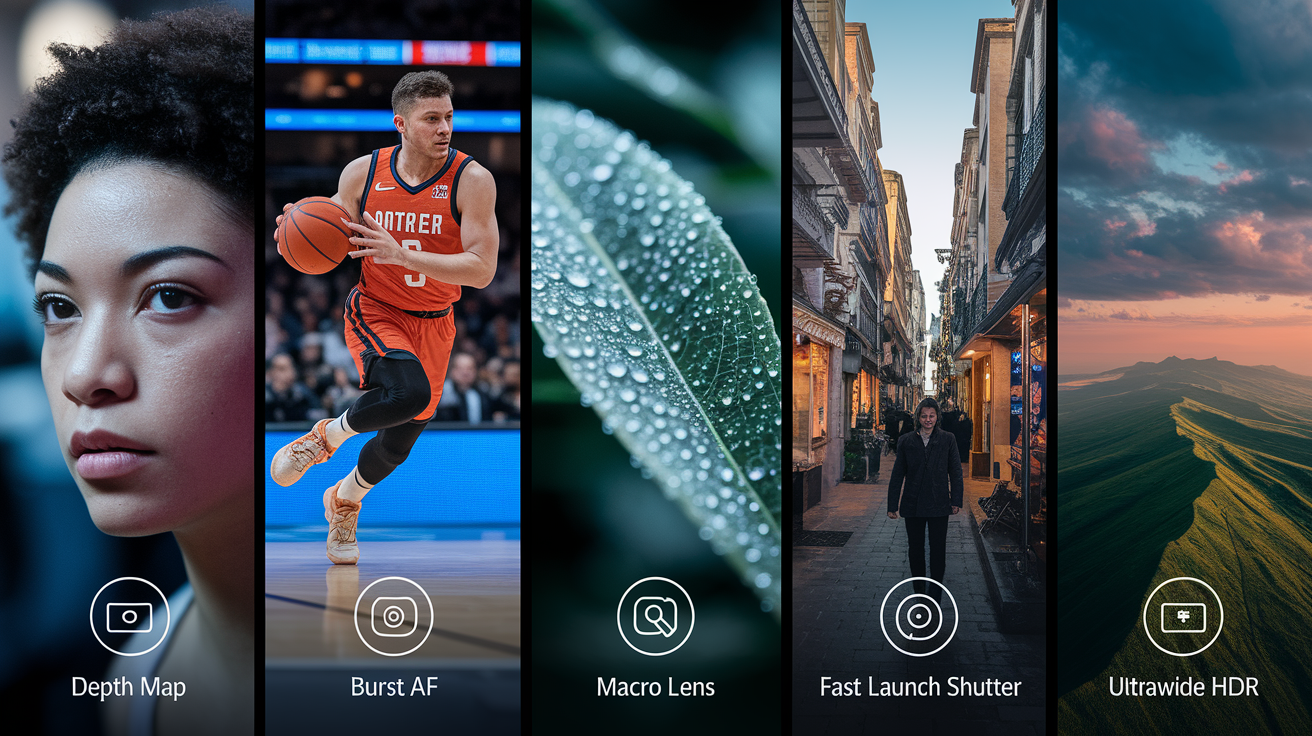
Different photographic disciplines put conflicting demands on hardware and software, so the “best” camera phone depends entirely on what you shoot most often. Focus on the features that line up with your main use case, accept compromises elsewhere, and remember that no single phone crushes every genre. The following subsections break down essential specs and software behaviors by style.
Portraits
Portrait photography demands strong subject-edge detection (segmentation), accurate depth sensing, and natural-looking background blur (bokeh simulation). Hardware depth sensors (LiDAR on iPhones, dual-pixel autofocus on Samsung and Google devices, or secondary depth-assist modules) improve segmentation accuracy, cutting errors where the phone slices into hair or misses fine details like glasses frames. Software portrait modes apply blur algorithms to the background, and the best implementations let you adjust blur intensity and focal point after capture. The iPhone 15 Pro supports portrait mode at 1×, 2×, and 3× optical zoom steps, so you can choose flattering focal lengths without cropping. Skin-tone rendering varies a lot between manufacturers. Pixel phones lean toward neutral or slightly cool tones, Samsung applies subtle smoothing and warmth, and iPhones deliver consistent color across lighting conditions.
Sports
Sports and action photography need fast burst capture, reliable autofocus tracking, and low-noise high-ISO performance to freeze motion under variable light. Continuous autofocus with subject tracking keeps moving athletes sharp frame after frame, while burst modes (10 to 30 frames per second on flagship phones) give you multiple chances to capture peak action. Bigger main sensors and efficient noise reduction keep detail at high ISO settings (1600–3200), which you need for indoor sports under artificial lighting. Shutter lag (the delay between pressing the button and capturing the frame) should measure under 50 milliseconds. Reviews often test this with high-speed sequences, so check sample galleries for missed focus or motion blur during rapid panning.
Macro
True macro photography needs a dedicated macro module or an external clip-on macro lens attached to the main camera. Lots of budget and midrange phones include 2 or 5-megapixel macro modules (examples: OnePlus Nord N200 with 2MP macro, OnePlus 8T and Pocofone F3 with 5MP macro), but image quality rarely impresses due to tiny sensors, fixed focus, narrow apertures, and minimal processing support. An add-on macro lens mounted on the primary camera taps into the phone’s best sensor, widest aperture, and full computational pipeline, often giving you sharper, more vibrant results. Minimum focus distance and magnification ratio determine how close you can get and how much detail you can pull out. Check specifications and sample images to verify whether “macro mode” is genuine close-focus capability or just a digital crop.
Street
Street and documentary photography favor fast camera launch (one tap or button press from the lock screen), simple uncluttered interfaces, and pocketability over multi-lens complexity. A single versatile wide lens (24–28mm equivalent) often proves more useful than juggling multiple modules when moments unfold quickly. Autofocus speed and shutter lag matter more than megapixel count or RAW capability, because missed moments can’t be recovered in post-processing. Discreet shooting benefits from silent shutter modes, quick-access toggles for flash and HDR, and reliable low-light performance without obvious computational delays. Some photographers prefer older, smaller phones (iPhone 13 mini, Pixel 5) for true one-handed operation and reduced attention in public spaces.
Landscape and Travel
Landscape and travel photography benefit from multiple focal lengths (ultrawide for expansive vistas, telephoto for compressed perspectives and distant details) and high-resolution capture modes for large prints. Phones with pixel-shift or multi-frame high-resolution modes (Samsung’s 200MP output, computational super-resolution on Pixel devices) provide printable detail rivaling cropped APS-C cameras when light is abundant. Dynamic range becomes critical for scenes with bright skies and shadowed foregrounds. Check HDR processing and RAW headroom by looking at highlight recovery and shadow lift in sample images. Ultrawide lens quality varies dramatically. Premium phones correct distortion and maintain sharpness to the corners, while budget ultrawides show heavy barrel distortion, chromatic aberration, and soft edges that don’t look good even after software correction.
Practical Testing Methods to Compare Smartphones for Photography Before You Buy
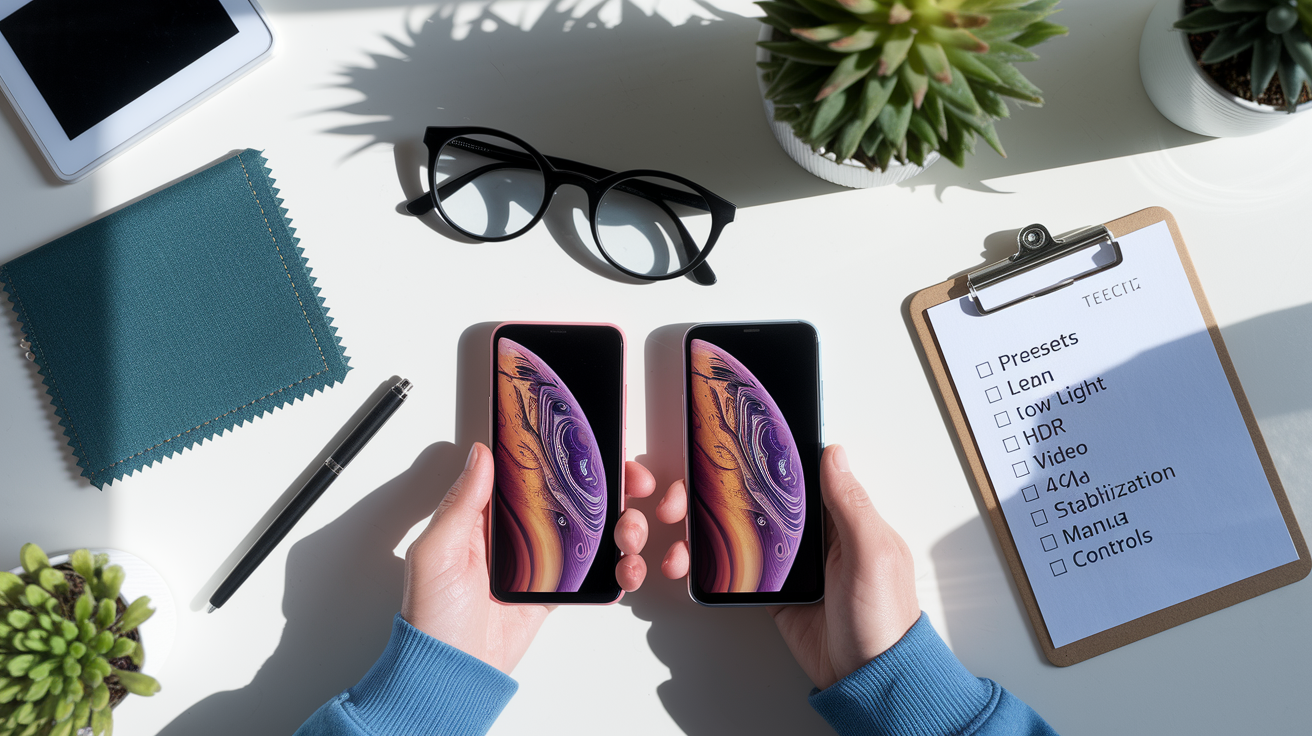
Specs and marketing images tell only part of the story. Hands-on testing reveals how a camera system behaves under your conditions and preferences. Visit a store with good lighting control (one that lets you test devices in both bright and dim sections) and bring a memory card or plan to examine images on the phone’s display at 100% zoom. Shoot the same subjects with each phone you’re considering: detailed textures (fabric, product labels, foliage), high-contrast scenes (windows with indoor shadows), and moving subjects (people walking, a spinning display). Compare results for noise, sharpness, color accuracy, and how aggressively the phone applies processing. Some users prefer clean, natural output, while others appreciate saturated colors and contrast boosts straight out of camera.
Trusted reviews with standardized tests and extensive sample galleries provide objective comparisons that in-store visits can’t match. Look for reviewers who publish full-resolution sample images, test each lens module separately, and shoot across a range of lighting conditions (daylight, golden hour, dusk, night, mixed indoor lighting). Pay attention to dynamic range consistency. Does the phone blow highlights in backlit scenes, or does HDR rescue detail without introducing halos and unnatural tone mapping? Check whether computational processing introduces artifacts: over-sharpening that creates halos around edges, aggressive noise reduction that smears fine detail, or color shifts between frames in burst sequences. Community forums and sample galleries (Reddit photography communities, dedicated phone-photography groups) offer real-world results from users who share your shooting style, often revealing quirks and strengths that professional reviews miss.
In-store testing checklist to compare smartphones for photography before you buy:
- Capture a detailed subject in good light at 1× zoom and examine the image at 100% magnification to see sharpness, color accuracy, and whether the phone over-processes texture with fake sharpening or noise reduction.
- Switch to each available zoom preset (0.5×, 1×, 2×, 3×, 5×, 10×) and photograph the same subject to compare optical quality, consistency across modules, and whether digital zoom between presets degrades acceptably or introduces severe artifacts.
- Test low-light performance by photographing a scene with both bright highlights and deep shadows, checking whether the phone’s HDR or night mode recovers detail in both extremes without blown highlights, blocked shadows, or unnatural halos.
- Record a short handheld video while walking and panning to check stabilization smoothness, autofocus hunting, rolling-shutter distortion, and audio quality from the built-in microphones.
- Access the camera app’s manual or pro mode (or install a third-party app if necessary) and verify that you can control ISO, shutter speed, focus, and save RAW files, confirming that the interface is intuitive and responsive enough for your workflow.
- Review sample images from trusted reviewers and user galleries online, focusing on subjects and lighting conditions you shoot most often, to spot consistent strengths and weaknesses that your brief in-store test might miss.
Budget, Longevity, and Value When Choosing a Camera-Focused Smartphone
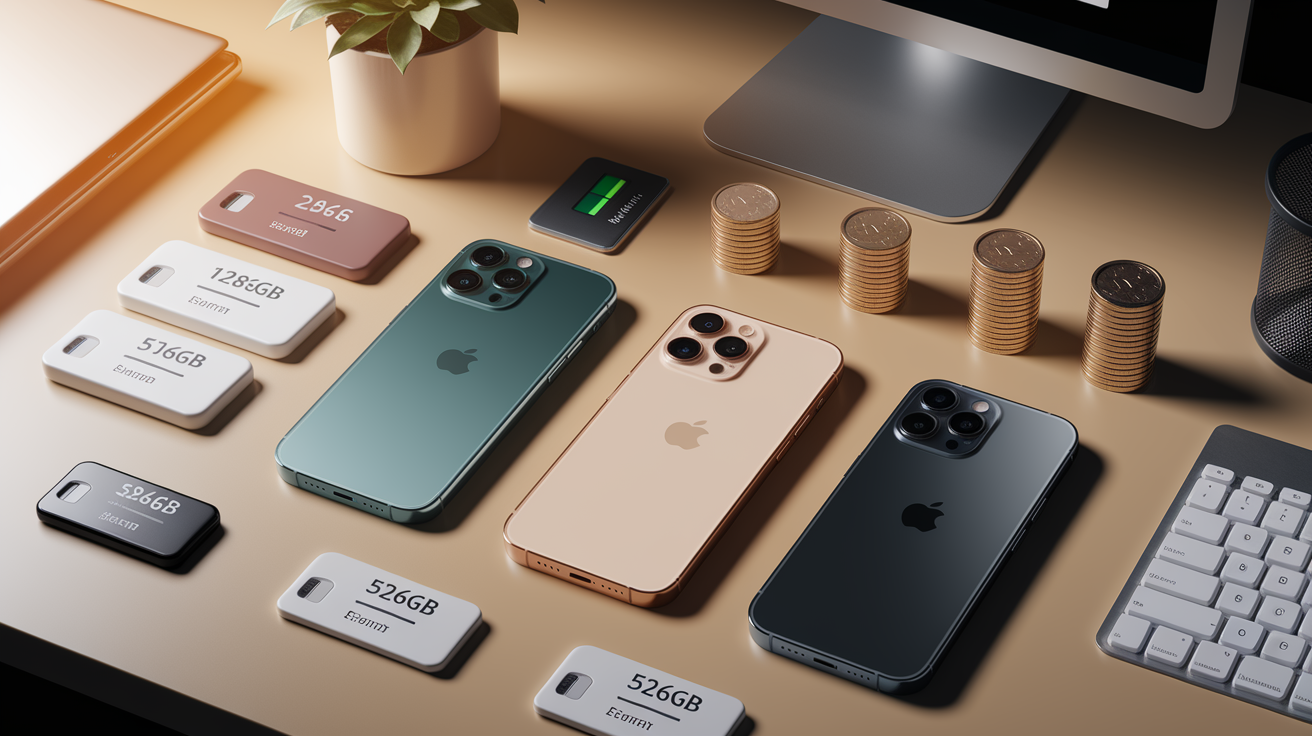
Flagship camera phones cost a lot (often $1,000 or more), but midrange devices increasingly offer similar sensor hardware, multiple lenses, and capable computational photography at $300 to $600. The main trade-offs in midrange phones show up in processing speed (slower HDR and night-mode stacking), build quality (plastic versus glass and metal), software update longevity (two to three years versus four to five), and secondary features like wireless charging, water resistance, and display refresh rates. If photography is your priority and you rarely use your phone for gaming or heavy multitasking, a midrange phone with a strong main sensor and competent software can deliver 90 percent of flagship image quality at half the cost. The Redmi Note 10 Pro, for example, was cited at approximately $300 with a 108-megapixel main sensor and up to 10× digital zoom. An excellent value if you accept slower performance and shorter software support.
Used and refurbished phones extend camera capability into lower budgets, but bring risks of battery degradation, screen scratches, and uncertain remaining software-update windows. A four-year-old iPhone purchased for around $150 can still produce excellent photos, especially if software updates continue to deliver computational-photography improvements, but expect battery health below 80 percent and potential repair costs for worn ports or failing components. Android phones face steeper depreciation and shorter update cycles. A three-year-old flagship may receive no further security patches, leaving you vulnerable and locked out of new camera features delivered via software. Balance the initial savings against total cost of ownership: a $250 used phone that requires a $100 battery replacement and stops getting updates within a year may cost more over time than a $400 midrange phone with three years of support ahead.
Storage capacity directly affects your ability to shoot high-resolution photos, 4K or 8K video, and RAW files without constantly offloading content. A single 8K video clip can blow past 1GB per minute, and RAW+JPEG pairs from a 200-megapixel sensor eat up 50–80MB per shot. Budget at least 128GB if you shoot casually and sync to cloud storage weekly. Serious photographers and video creators should target 256GB or 512GB, especially if the phone lacks expandable storage. Battery life matters for extended shooting days. Computational processing, continuous autofocus, and 4K video recording drain batteries faster than web browsing or messaging, so phones with larger batteries (4,500mAh or more) and efficient processors deliver better all-day stamina. Ecosystem lock-in also influences long-term value: iOS users benefit from consistent app behavior, long software support, and strong resale values, while Android users gain flexibility to switch manufacturers, sideload apps, and access third-party camera mods like GCam ports that unlock computational features on non-Google phones.
Final Words
Start by deciding what matters: sensor size, aperture, and low-light behavior. Bigger sensor area and proper stabilization give more real-world image quality than megapixel counts.
Then balance lens modules and zoom, stabilization method, and software processing. Test RAW and pro modes, check autofocus and video, and compare sample photos in store.
Use this guide on how to choose a smartphone for photography to prioritize sensor, stabilization, and software for your shooting style and budget. You’ll be ready to shoot better photos.
FAQ
Q: What phone do most photographers use and which mobile is best for photography?
A: The phone most photographers use and the best mobiles for photography are current flagships like the iPhone 15 Pro Max, Pixel 8 Pro, and Galaxy S23 Ultra, each balancing sensor size, lenses, and computational software.
Q: Is 200MP better than 48MP?
A: 200MP isn’t always better than 48MP—higher megapixels help only with a large sensor and good optics; many phones use pixel-binning, so 48MP with bigger pixels often performs better in low light and real shots.
Q: What are the best budget smartphones for photography?
A: The best budget smartphones for photography include models like the Redmi Note 10 Pro (~$300), recent Pixel A-series, or used flagship phones; prioritize a large sensor, OIS, versatile lenses, and ongoing software updates.