
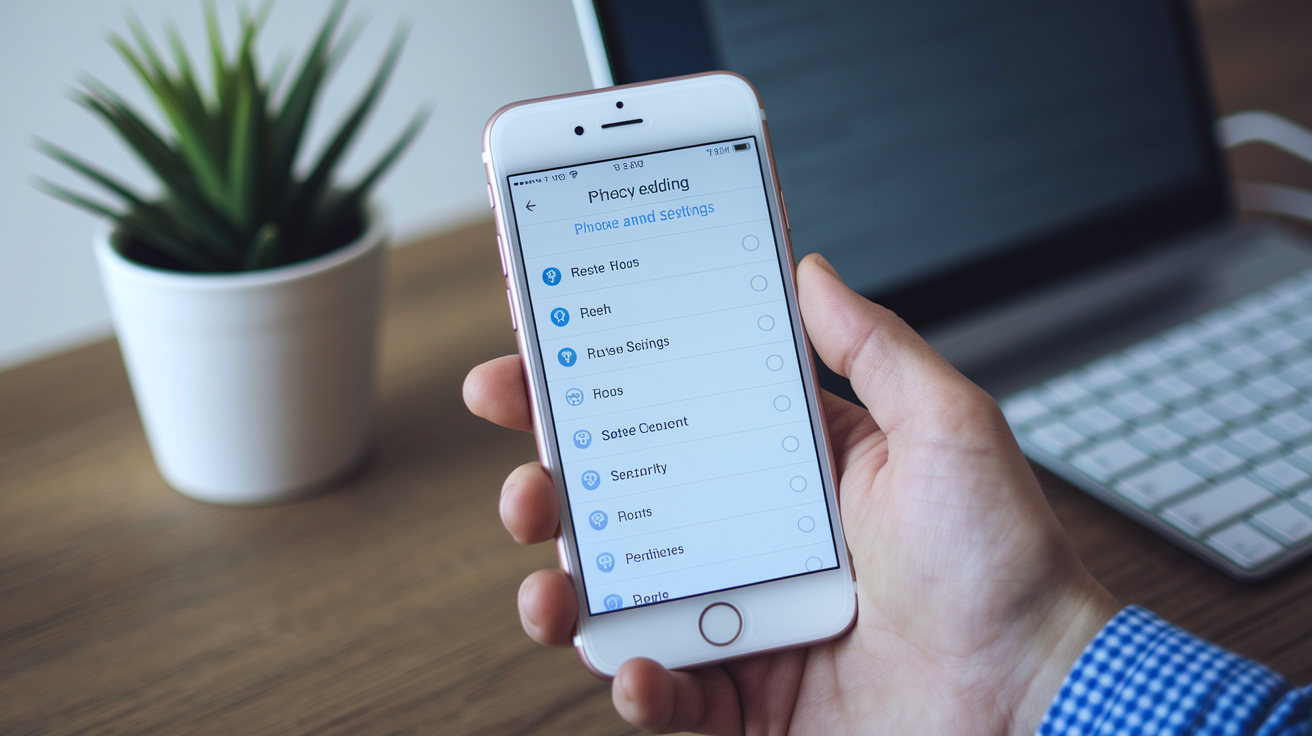

Did you know apps can use your camera, microphone, photos, and exact GPS even when you don’t open them?
On iPhone, you control all of that in Settings, under Privacy and Security, the place to stop unwanted access.
This guide walks you through both category views and per-app controls, explains which options are safest for privacy and battery, and gives quick steps to fix common problems.
Open Settings and tap Privacy and Security to follow along and lock down what you don’t want apps to see.
Step-by-Step Guide to Changing App Permissions on iPhone

Every iPhone permission lives in Settings > Privacy & Security. Think of it as mission control for your data. You can jump into a specific category to see which apps are tapping what, or just scroll to an app’s name in Settings and change everything in one spot.
The second method works best when you already know which app needs fixing. Open Settings, scroll past your Apple ID and Airplane Mode until the alphabetical app list shows up, tap the app, and you’ll see Camera, Microphone, Location, Photos, Siri & Search, Notifications, and Background App Refresh all sitting there ready to toggle.
Main method (category view):
- Open Settings (gray gear icon).
- Tap Privacy & Security.
- Pick a category: Location Services, Contacts, Microphone, Photos, Motion & Fitness, or Tracking.
- Tap any app to see what it’s currently allowed to do.
- Choose Never, While Using the App, or Always (not every app gets all three).
- For location, flip Precise Location off if you’d rather share approximate coordinates.
Permission states control when an app can read your stuff. “Never” shuts it down completely. “While Using the App” grants access only when the app’s on screen, which is the safest default for most things. “Always” lets the app check in even when closed. Great for fitness trackers. Risky for social media. Location indicators pop up in your status bar: purple arrow means an app grabbed your location recently, gray arrow means sometime in the last day. Photos permissions have a third option called “Selected Photos,” which limits the app to images you pick instead of your entire library.
Understanding iPhone Permission Types and What They Control

iOS gives you three permission states for most categories: Never (fully blocked), While Using the App (access only when open), and Always (unrestricted background access). “While Using the App” hits the sweet spot for navigation, social media, and messaging. Save “Always” for apps that actually need background access—fitness trackers logging steps overnight, security cameras sending alerts when you’re gone.
- Camera — Apps can shoot photos and video. Required for social media, video calls, QR scanners. If your note app wants camera access but you only type, deny it.
- Microphone — Audio recording for voice messages, calls, memos, speech-to-text. Messaging apps need this. Flashlight apps don’t.
- Photos — Read or write access to your library. Pick “All Photos” for cloud backup, “Selected Photos” for social networks posting a few images, or “Never” for games asking without reason.
- Location Services (Precise Location toggle) — Apps see exact GPS coordinates when Precise Location is on, or just city-level approximation when it’s off. Maps and ride apps need precise data. Weather apps work fine with approximate and drain less battery.
- Contacts — Read names, numbers, email addresses. Messaging and email clients need this. Puzzle games don’t.
- Tracking — Introduced in iOS 14.5, this blocks apps from following you across other apps and sites for ad targeting. Turn it off unless you want personalized ads.
- Files & Folders — Read and write documents in iCloud Drive or other file providers. Document editors, cloud storage, PDF readers need it.
- Bluetooth — Talk to wireless accessories like headphones, speakers, fitness bands, smart home gear. Turn it off for apps that don’t connect to hardware.
Legit apps request only what they need. Navigation app asking for location? Makes sense. Calculator asking for contacts? Red flag. Watch for apps requesting multiple unrelated permissions at once, especially if reviews mention aggressive data collection or developer contact info is missing from the App Store.
Adjusting Sensitive Permissions: Camera, Microphone, Photos, and Location

Camera access lets an app see through your lens whenever it wants, while the app is open. Social networks, video calls, barcode scanners, camera apps all need it. Deny camera permission and the app shows a black screen or error when you try snapping a photo. You’ll have to circle back to Settings to re-enable it. Apps can’t silently record video in the background even with camera permission. iOS shows an orange dot at the top whenever the camera’s active.
Microphone permission allows audio capture for calls, voice memos, speech-to-text, voice assistants. Messaging apps, podcast recorders, translation tools require it. A green dot pops up in the status bar whenever an app is listening, even in the background. Weather app or news reader asking for microphone and you’ve never used a voice feature? Deny it. The request signals unnecessary data grab.
Photos permission comes two ways: “All Photos” gives unrestricted access to every image and video, while “Selected Photos” opens a picker so you choose specific files one at a time. Cloud backup like Google Photos or Dropbox needs “All Photos” to sync your library automatically. Social media only needs “Selected Photos” since you pick what to post. Photo editors usually ask for “All Photos” for convenience, but if you only edit occasionally, “Selected Photos” keeps the rest of your library locked down.
Location permission controls GPS and comes with the most granular options. “Never” blocks all location data. “While Using the App” shares coordinates only when the app’s visible on screen. Perfect for maps, weather, ride-hailing. “Always” lets the app check your location in the background. Necessary for fitness trackers logging runs or smart home apps triggering automations when you arrive, but it drains battery faster and poses privacy risks if the app sells location history to data brokers.
- Camera — Orange dot appears when active. Blocking prevents in-app photo capture but protects against silent surveillance.
- Microphone — Green dot signals recording. Deny for apps with no voice features to avoid background audio collection.
- Photos — “Selected Photos” limits exposure. Switch to “All Photos” only for backup or editing workflows requiring bulk access.
- Location (Precise vs. Approximate) — Toggle off Precise Location to share only city-level data. Saves battery and hides your exact address from apps that don’t need street-level accuracy.
Managing Notifications, Background App Refresh, and Cellular Data Access
Notification settings sit inside each app’s Settings page, not under Privacy & Security. Scroll to the app’s name in Settings, tap Notifications, and you’ll see toggles for Lock Screen alerts, banners, badges, sounds. You can silence notifications entirely while still letting the app run, or customize banner styles. Temporary banners vanish after a few seconds, persistent banners stick on screen till you swipe them away.
Background App Refresh lets apps fetch new content when you’re not using them. Email clients check for messages, news apps download stories, social networks preload your feed. Convenient but costs battery and cellular data. To disable, open Settings, scroll to the app, toggle Background App Refresh off. The app won’t update in the background anymore. When you open it, you’ll see a brief loading screen as it fetches fresh data. Turn it off for apps you rarely check and leave it on for messaging where instant delivery matters.
Cellular data controls live under Settings > Cellular. Scroll past the usage graph and you’ll see a list of every app with how much mobile data it consumed during the current billing period (the counter resets when you tap “Reset Statistics” at the bottom). Toggle any app off to block cellular access entirely. It’ll only load content over Wi‑Fi. Useful for video streaming, podcast players, cloud backup tools that chew through gigabytes if you forget you’re off Wi‑Fi.
| Feature | Path | Purpose |
|---|---|---|
| Notifications | Settings > [App Name] > Notifications | Control alerts, banners, badges, sounds; customize or silence entirely |
| Background App Refresh | Settings > [App Name] > Background App Refresh | Stop apps from updating content when closed; saves battery and data |
| Cellular Data | Settings > Cellular > scroll to app list | View data usage per app; block cellular to force Wi‑Fi only operation |
Advanced Privacy Tools: App Privacy Report and Recent Access Logs
App Privacy Report is a built-in audit log showing which apps accessed your sensors, contacts, photos, network connections over the past seven days. It sits under Settings > Privacy & Security > App Privacy Report. When you first open it, iOS needs a few minutes to collect data. After that, the report updates continuously and breaks down access by app and by data type. So you can see your weather app checked location 47 times this week, or a social media app contacted 12 different tracking domains.
To view the report:
- Open Settings and tap Privacy & Security.
- Scroll down and tap App Privacy Report.
- Wait for the summary to populate (first-time setup takes a few minutes).
- Tap App Activity to see which apps accessed Camera, Microphone, Photos, or Contacts, with timestamps for each instance.
- Tap Website Network Activity to view domains each app contacted. Useful for spotting hidden trackers.
- Tap Most Contacted Domains to identify third-party analytics and ad networks your apps phone home to.
Location indicators in the status bar and on the Privacy & Security screen give real-time feedback. Solid purple arrow next to Location Services or next to an app’s name means that app used your location within the past few minutes. Gray or outline arrow means the app accessed location sometime in the last 24 hours. Purple arrow next to an app you haven’t opened recently? It’s using “Always” permission to track you in the background. Check whether that access is still necessary or switch to “While Using the App.”
Fixing Permission Issues: Grayed-Out Toggles, App Breakage, and Reset Options
When a permission toggle is grayed out and you can’t tap it, the most common cause is Screen Time restrictions. Go to Settings > Screen Time > Content & Privacy Restrictions and check whether “Location Services,” “Microphone,” “Camera,” or “Photos” are set to “Don’t Allow Changes.” If restrictions are active and you don’t remember setting them, you’ll need the Screen Time passcode to unlock the toggles. Device management profiles (used by schools, employers, mobile-device-management software) can also lock permissions. Check Settings > General > VPN & Device Management (or Profiles & Device Management) for any installed profiles that might enforce policies.
If an app stops working after you change a permission (maps won’t navigate, camera app shows black screen, voice messages fail to record), the fix is usually straightforward. Open Settings, scroll to the app, re-enable the permission it needs. Then force-quit the app by swiping up from the bottom (or double-clicking the home button) and swiping the app’s preview off screen. Relaunch to confirm the feature works. Problems persist? Update the app in the App Store or delete and reinstall. Occasionally an iOS update changes how permissions are stored, and a fresh install clears the cache.
- Check Screen Time > Content & Privacy Restrictions and disable any toggles blocking Camera, Location, Microphone, Photos, or Contacts.
- Look for Profiles & Device Management under Settings > General. Remove or adjust any profiles restricting permissions (requires admin passcode for MDM devices).
- Force-quit the app and relaunch after changing a permission to refresh its access.
- Update the app in the App Store. Older versions sometimes fail to recognize new permission states.
- Delete and reinstall the app if force-quitting doesn’t fix broken features.
- Update iOS under Settings > General > Software Update if permission bugs appeared after a recent update. Apple often patches permission glitches in point releases.
Reset Location & Privacy wipes every app’s permission history and returns all toggles to factory defaults. Apps will re-request access the next time they need a sensor or data type, as if you just installed them. To reset, open Settings > General > Transfer or Reset iPhone > Reset > Reset Location & Privacy, then enter your passcode. This won’t delete apps or personal data. It only clears permission grants. Use it when you suspect an app is stuck with incorrect permissions or when you want to audit which apps truly need access by forcing them to ask again.
Parental Controls and Permission Restrictions for Children’s Devices
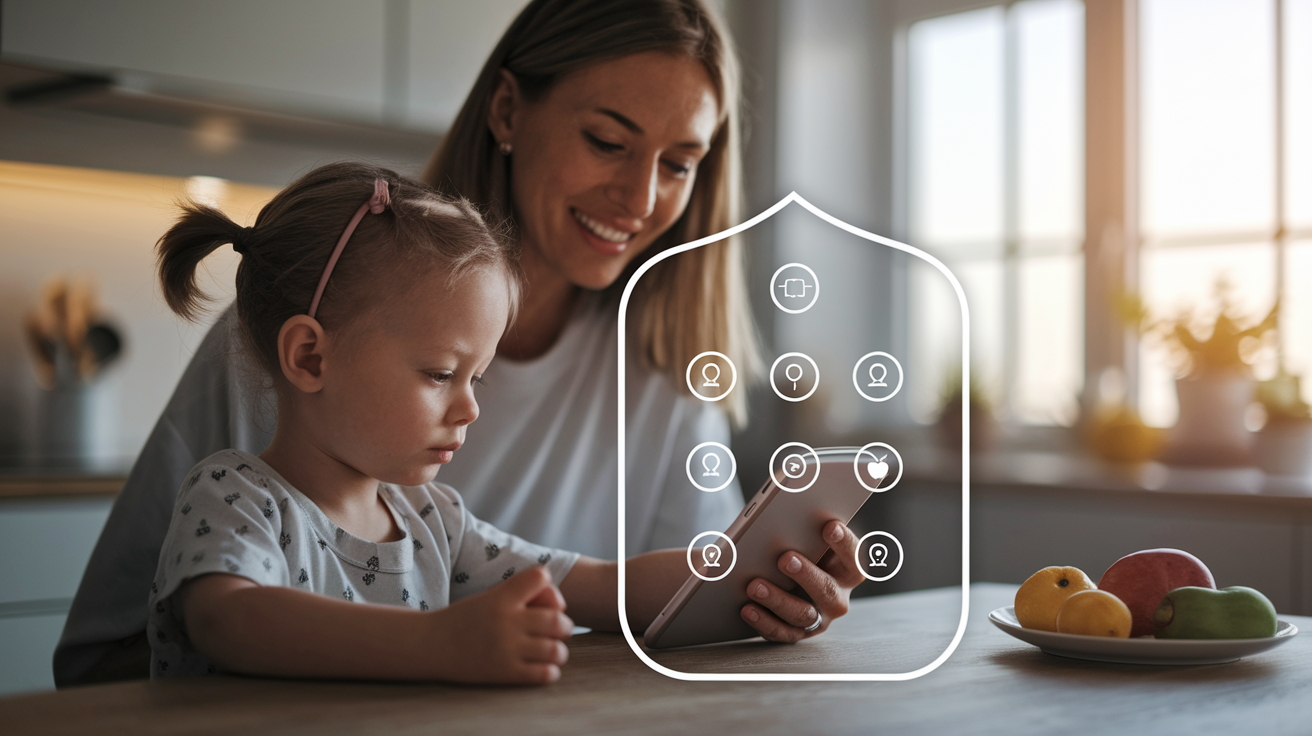
Screen Time’s Content & Privacy Restrictions let you lock down every major permission category on a child’s iPhone and prevent changes without a passcode. Once enabled, you can block access to Location Services, Contacts, Calendars, Reminders, Photos, Microphone, Camera, and more. Or set them to “Don’t Allow Changes” so the current state stays frozen. This stops children from granting camera access to a sketchy app or sharing location with strangers, and it prevents them from disabling restrictions you’ve set.
- Open Settings > Screen Time on the child’s device (or on your own if you manage the child’s account via Family Sharing).
- Tap Content & Privacy Restrictions and toggle it on. Set a Screen Time passcode the child doesn’t know.
- Tap Location Services and choose “Don’t Allow Changes” to lock the current on/off state, or “Allow Changes” if you want the child to manage location per app with your guidance.
- Tap Allow Changes under Contacts, Calendars, Photos, Microphone, Camera, and other categories to decide which permissions the child can modify. “Don’t Allow Changes” locks the permission and grays out the toggle in Privacy & Security.
- Periodically open Privacy & Security on the child’s device to review which apps have access. Even with restrictions on, apps installed before you enabled Screen Time retain their old permissions until you manually revoke them.
Teaching children to evaluate permission requests builds long-term safety habits. Walk through the Privacy & Security screen together and ask why each app needs the data it’s requesting. Does a drawing app really need location, or is it collecting info to sell? Show them the App Privacy Report so they can see which apps contact tracking domains. Explain that “While Using the App” is safer than “Always” and that denying permissions won’t break most apps, just disable specific features. Encourage them to check app reviews for privacy complaints before installing anything new, and make it a rule to ask permission before granting camera, microphone, or location access to unfamiliar apps.
Final Words
We showed where to find permissions (Settings > Privacy & Security) and the fast per-app route to toggle Camera, Microphone, Location, Photos, Notifications, and Background App Refresh.
You also saw the key permission states (Never / While Using / Always), when to limit precise location, how to use the App Privacy Report, and basic fixes plus parental controls.
If you need a quick refresher on how to change app permissions on iPhone, follow the step-by-step steps above and check the report. A monthly quick review keeps your data and battery in better shape.
FAQ
Q: How do I change app restrictions on my iPhone? How do I customize app permissions?
A: To change app restrictions and customize app permissions on iPhone, open Settings > Privacy & Security or Settings > [app], then toggle Camera, Microphone, Location, Photos, and Background App Refresh. Use Screen Time to lock changes.
Q: Can someone track my iPhone without me knowing?
A: Someone can track your iPhone without you knowing if Location Services, Share My Location, or tracking permissions are enabled, or a malicious app has access. Check Settings > Privacy & Security > Location Services and App Privacy Report.
Q: Why am I not getting my child’s app requests on my iPhone?
A: You’re not getting your child’s app requests because Ask to Buy might be off, Family Sharing or Apple ID is misconfigured, or notifications are blocked. Check Family Sharing > Ask to Buy and enable notifications and Screen Time request settings.