

You don’t need aim trainers to get better at shooters.
Most players spend hours on drills that don’t match real matches.
Simple in-game habits like holding your crosshair at head level, pre-aiming corners, locking sensitivity, and stopping before you shoot cut reaction time and turn lucky shots into consistent hits.
This guide shows how to build those habits while you play, with short drills and settings to lock for two weeks.
Want faster headshots and steadier recoil control? Read on.
Core In‑Game Methods to Improve Aim Without Aim Trainers
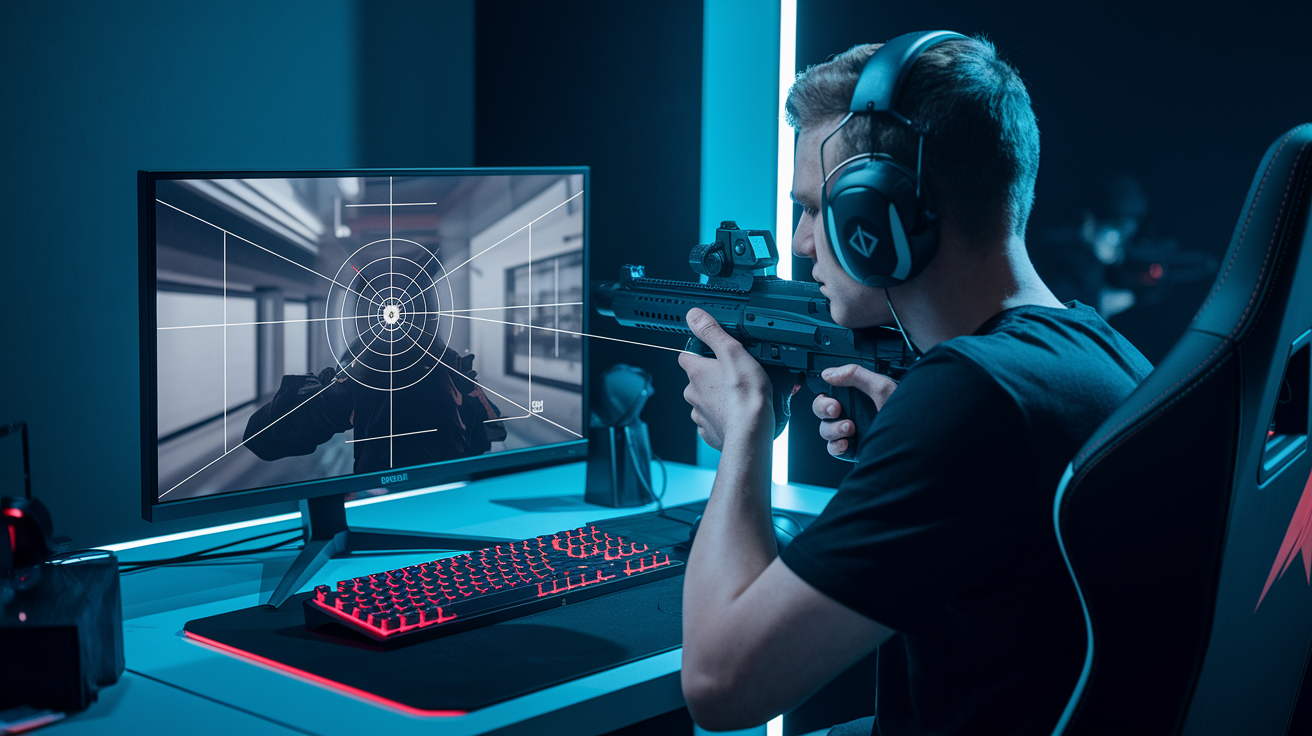
Keep your crosshair at head or chest level 90 to 100 percent of the time. That habit alone cuts reaction distance by more than half and turns guessing into reflex. Pre-aim corners and doorways where you expect enemies to show up, holding your crosshair 0 to 1 character width from the edge so targets walk into your sight picture instead of forcing you to flick across the screen.
Movement habits matter just as much as crosshair discipline. Stop moving completely before you fire. Most FPS games penalize moving shots with massive accuracy penalties. Use short counter-strafe taps to freeze in place fast. Crouch sparingly, and only when you’re already stationary or committed to a spray. Crouching while moving makes you slow and predictable.
Lock in your mouse sensitivity and DPI once, then leave them unchanged for at least two weeks. Muscle memory builds through repetition at the same speed and distance, so players who tweak settings every few days never develop the automatic hand-eye coordination that transforms guessing into instinct. Play your matches with good posture, clear angles methodically instead of rushing, and use the same crosshair and keybinds every session. Before I stopped changing my DPI every weekend, I couldn’t hit a stationary bot. Two weeks of the same settings and my headshot rate jumped 12 percent.
Mouse Sensitivity, DPI, and Input Settings for Reliable Aim
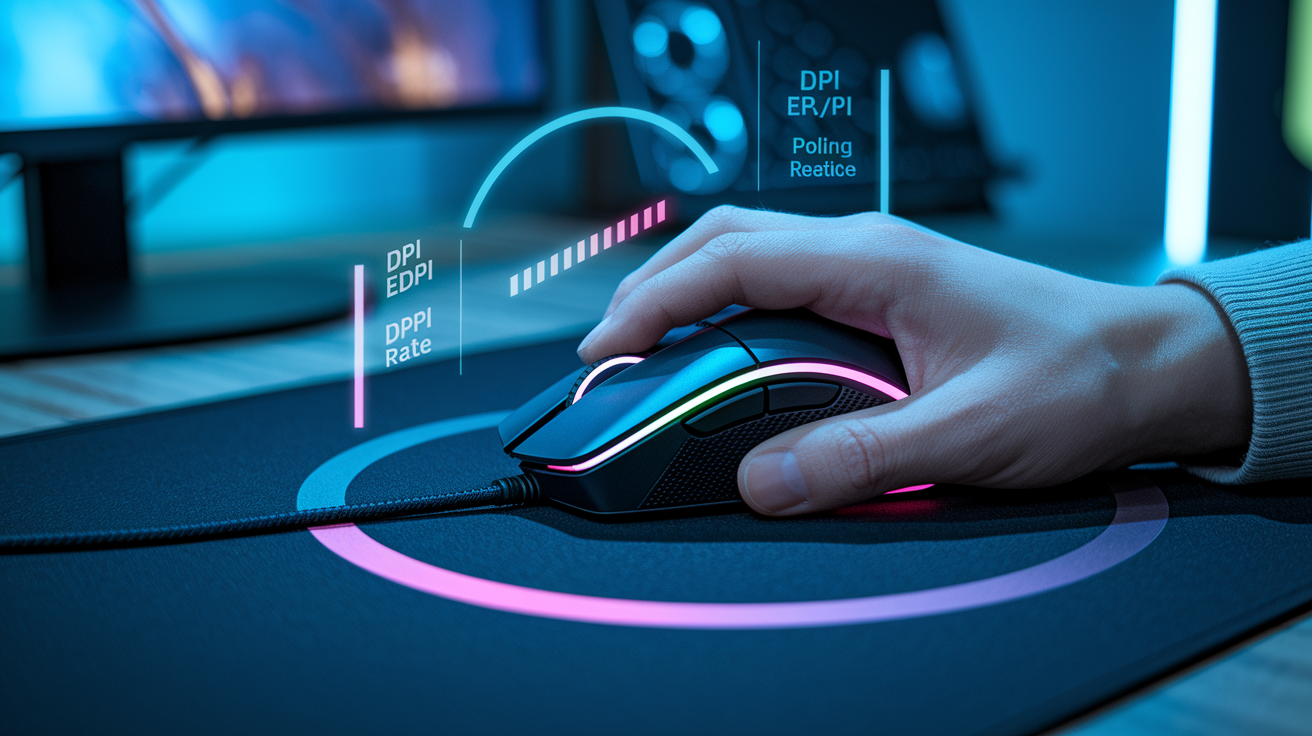
Choose a DPI between 400 and 800 and pair it with an in-game sensitivity that produces an effective DPI (eDPI) of 200 to 400 for precision play. Calculate your eDPI by multiplying your mouse DPI by your in-game sensitivity number. 400 DPI at 0.5 in-game sensitivity equals an eDPI of 200. Players who prefer faster repositioning can push eDPI up to 800, but exceeding 1,200 eDPI sacrifices too much fine control for most shooters.
Set your mouse polling rate to 1,000 Hz if your device supports it, or 500 Hz minimum. Polling rate determines how many times per second your mouse reports position to the computer. Higher rates reduce input lag and smooth out micro-movements during tracking.
Calculate your current eDPI. Multiply your mouse DPI by your in-game sensitivity to see where you stand now. Pick a stable DPI. Use 400 or 800 DPI and don’t change it. Most pros stick to one of these two values for years. If you switch games, use a sensitivity converter tool to match the same physical mouse distance for a 360-degree turn.
Test your 180 and 360 turns. A full mousepad swipe at low eDPI (200 to 300) should rotate you roughly 180 to 270 degrees. Adjust in-game sensitivity if you run out of pad space or have excessive leftover distance. Lock settings for one to two weeks. Write down your DPI and sensitivity, then don’t touch them for at least 10 to 14 days of regular play.
Track accuracy trends weekly. Note your headshot percentage and kill-to-death ratio each week to see if the sensitivity supports improvement or needs minor adjustment.
Muscle memory takes consistent repetition to form. Changing DPI or sensitivity mid-week resets that process and forces your hand to re-learn distances. Players who chase “perfect” settings every few days never build the automatic coordination that separates good aim from guesswork. I spent three months tweaking sensitivity and stayed average. I locked in 400 DPI and 0.45 sens for a month and my flick consistency doubled.
Crosshair Placement Habits That Build Natural Accuracy
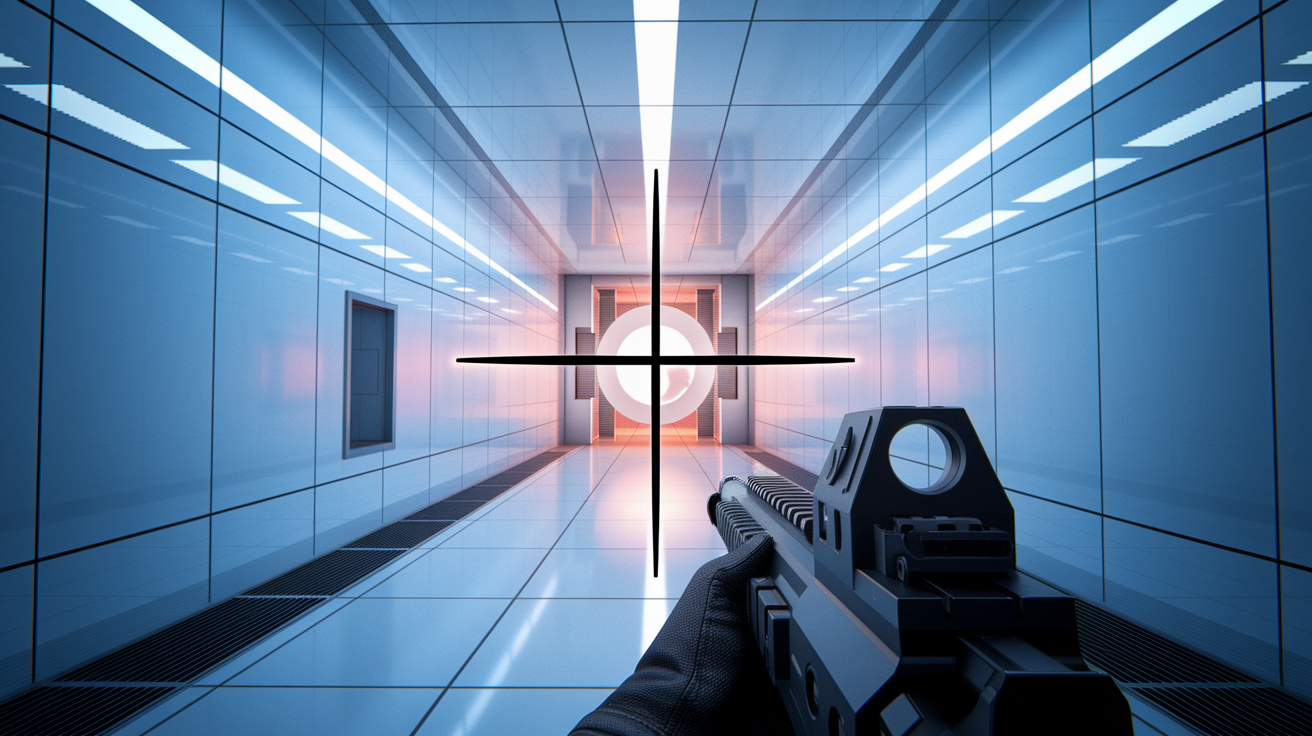
Hold your crosshair at the height where enemies’ heads will appear. Not at the floor or sky. Scan horizontally at head level as you move through the map, and you’ll land first shots faster because your crosshair is already on target when someone peeks. Pre-aim inside corners by positioning your crosshair 50 to 100 centimeters past the edge you’re about to peek, so you see the enemy the instant you clear the angle.
Use sound cues and map knowledge to predict where enemies will be, then place your crosshair at that exact spot before they appear. When holding an angle, keep your crosshair within one character width of the doorway or corner edge. Close enough that a single micro-adjustment lands the shot instead of requiring a full flick across the screen.
Maintain head height at all times. Train yourself to move your mouse horizontally when scanning rooms instead of drifting up or down. Clear angles one at a time. Peek each corner separately and place your crosshair exactly where the first visible pixel of an enemy model will show.
Listen for footsteps and gunfire. Rotate your crosshair toward sound before you see movement, cutting reaction time by 50 to 100 milliseconds. Reduce reaction distance by positioning your crosshair closer to expected enemy positions, 0 to 1 character width away, so you’re adjusting instead of searching.
Predict common movement patterns. Hold crosshair on the spot players run to after planting a bomb or capturing an objective, not on empty doorways.
Movement Mechanics That Improve Aim Stability
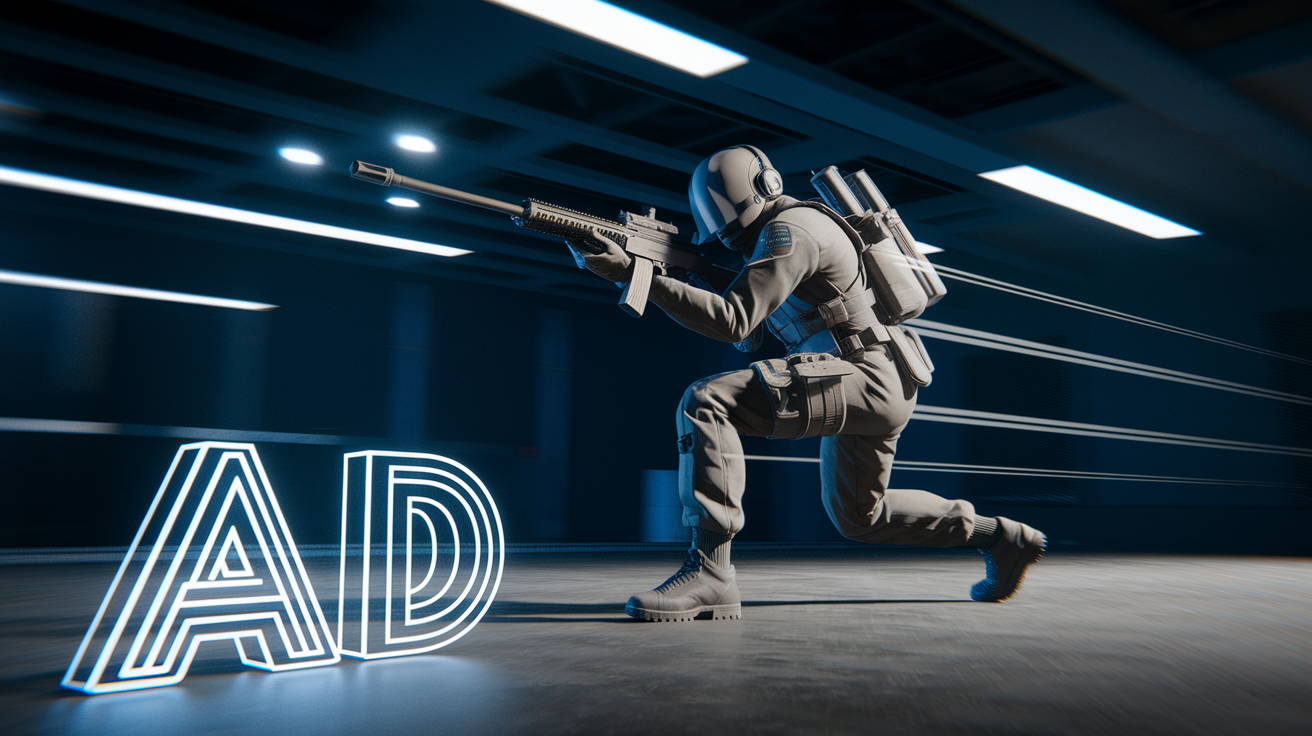
Stop moving before you shoot. Most FPS games apply a large accuracy penalty to shots fired while walking or running. The difference between a moving shot and a stationary shot can mean double the spread and half the effective range. Counter-strafing lets you stop instantly by tapping the opposite movement key for 30 to 60 milliseconds, canceling your momentum and restoring full accuracy in 80 to 150 milliseconds instead of waiting for natural deceleration.
Crouch only after you commit to a spray or when you’re already standing still. Crouching mid-fight while moving makes you slower and easier to track, but a quick crouch during the second or third bullet of a burst can dodge a headshot and tighten your own recoil pattern. Practice the timing by playing deathmatch rounds where you force yourself to stop completely, fire one to three bullets, then re-peek or reposition before spraying.
Timing Fundamentals for First‑Shot Accuracy
Your first bullet is the most accurate, and most kills happen in the first 200 milliseconds of an engagement. Learning to halt movement cleanly before firing turns that first shot into a reliable precision tool instead of a coin flip.
| Movement Action | Effect on Aim | Recommended Timing |
|---|---|---|
| Walking forward | Doubles bullet spread; ruins accuracy beyond 10 meters | Stop 80–150 ms before firing |
| Counter‑strafe tap | Instant stop; restores full accuracy in 30–60 ms | Tap opposite key for 30–60 ms, then shoot |
| Crouch while stationary | Tightens spray; lowers hitbox by ~20% | Use after first 1–2 shots or when holding angle |
| Crouch while moving | Slows movement; makes you predictable | Avoid unless committing to full spray |
Recoil Control and Firing Techniques Inside the Game
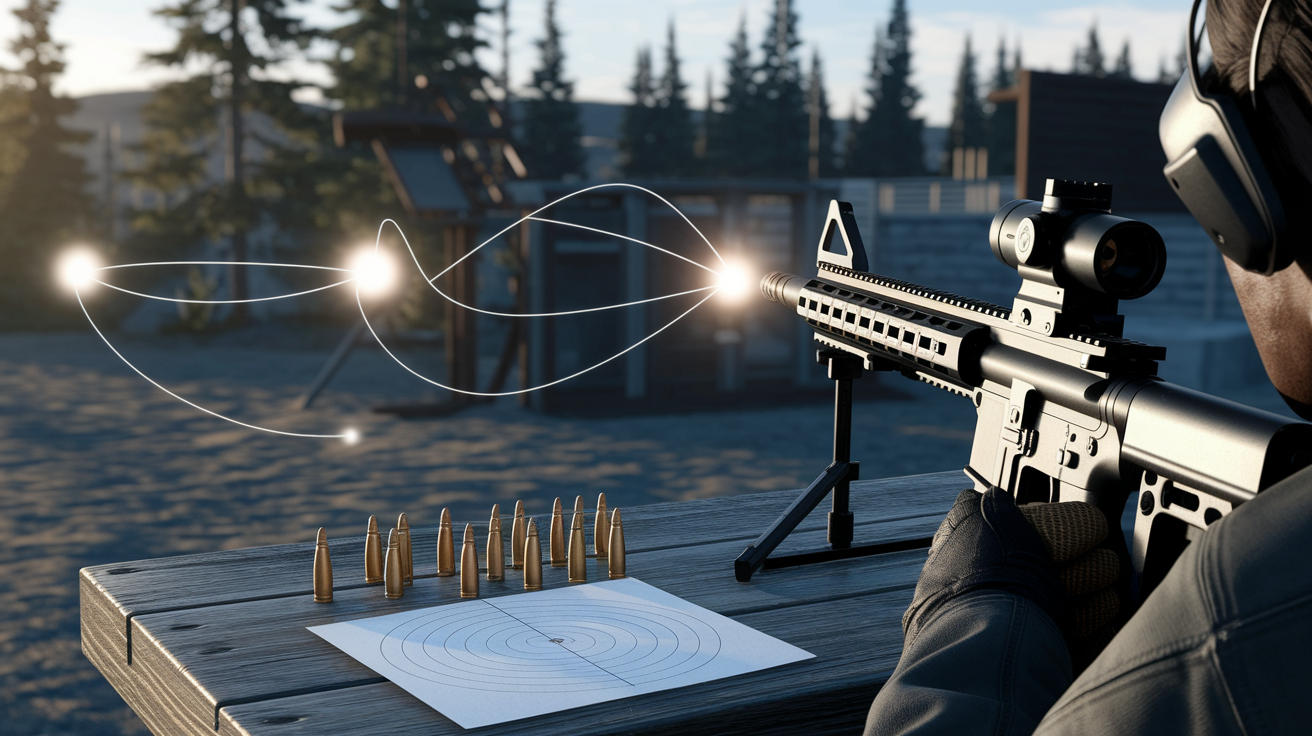
Fire in bursts of three to five rounds at medium range and one to three rounds at long range, then pause 200 to 400 milliseconds between bursts to let recoil reset. Full sprays work at close range or when you’re certain of the kill. Sustained automatic fire pushes your crosshair off target and wastes ammo when the enemy can sidestep or return fire during your reload.
Learn each weapon’s recoil pattern by spending five to ten minutes per week in a practice range or against bots, firing controlled bursts and watching where bullets land relative to your crosshair. Most automatic weapons kick upward first, then drift left or right in a predictable sequence of two to six discrete steps. Compensate by pulling your mouse downward during the first few bullets, then apply small horizontal corrections to follow the pattern and keep rounds grouped on the target.
Tap firing gives you maximum accuracy at long range and forces you to aim each bullet instead of relying on spray luck. Single shots with a brief pause between each. Practice tap rhythm in deathmatch by playing entire rounds using only one shot per trigger pull, aiming for headshots, and resetting your crosshair to head level between shots. This builds the discipline to stop spraying when your opponent is too far away for recoil control to land consistent hits. I used to hold left-click and pray. Now I burst three rounds, check the result, and either re-peek or tap the finish, and my long-range K/D went up 40 percent.
Practical In‑Game Drills to Improve Aim Without Trainers
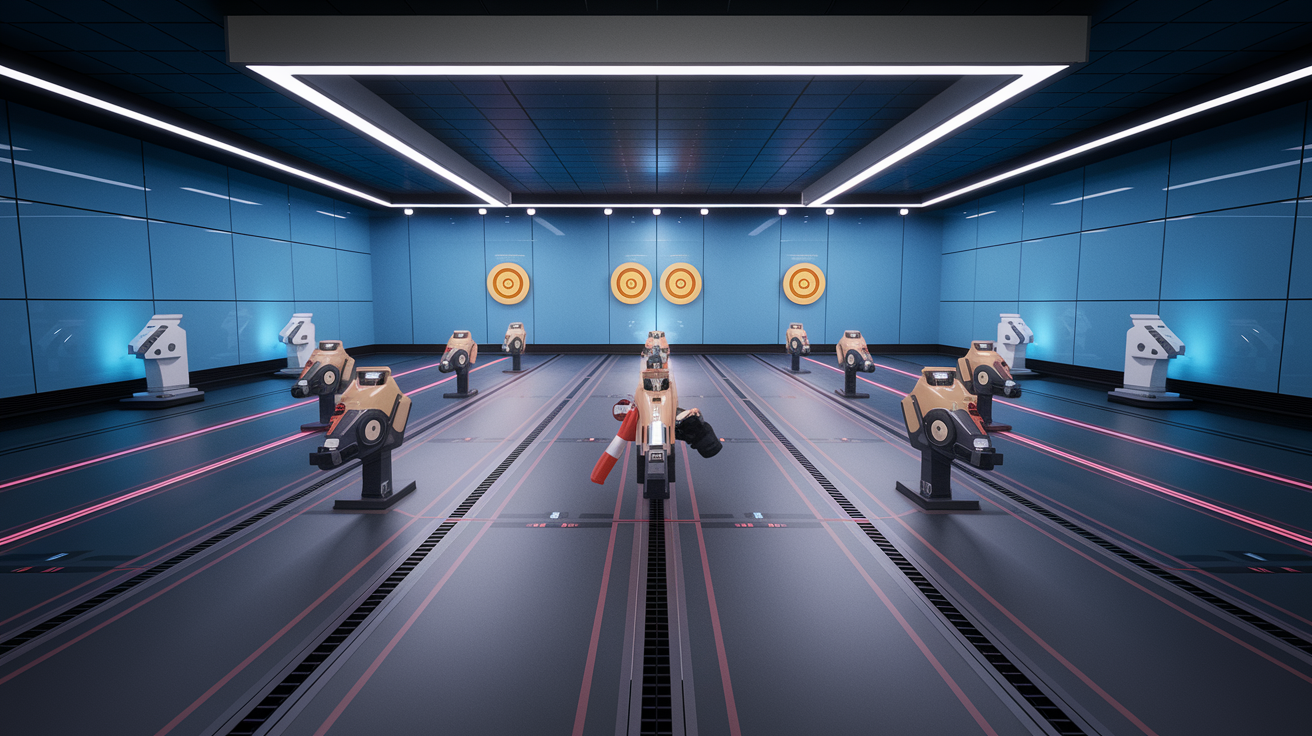
Run targeted drills inside your actual game’s deathmatch, bot lobbies, or custom servers. Those environments include the exact weapon behavior, movement physics, and map geometry you’ll face in ranked play.
Play three sets of 10 minutes each in a deathmatch server with a goal of landing 50 to 100 accurate shots per set. Count only hits that required deliberate aim, not spray-and-pray kills. Track your quota each session and raise the target by 10 shots per week.
Join a headshot-only deathmatch server or force yourself to aim exclusively for heads during two to three casual rounds. Measure your headshot percentage before starting and aim to improve it by 5 to 10 percent over the next two weeks.
Set up a custom lobby with 10 bots, infinite ammo, and no cooldowns. Run five sets of 5 minutes each, firing only 3 to 5 round bursts with a 200 to 400 millisecond pause between bursts to let recoil reset. Focus on landing every burst on a head-sized target at 10 to 20 meters.
Spend 10 to 15 minutes per session on a bomb defusal or control-point map practicing pre-aim on common enemy positions. Hold one angle at a time, place your crosshair exactly where the first visible pixel will appear, and shoot only when your crosshair is already on the target. No flicking allowed.
These drills work because they teach you to aim under the same conditions you’ll face in real matches. Weapon spread, player movement speed, map sightlines, and server latency all stay constant. Players who train exclusively in third-party aim software often find their skills don’t transfer cleanly because those trainers use different physics. Practicing inside the game itself eliminates that gap and builds muscle memory that applies immediately in ranked play.
Warm-Up Systems and Daily Routines to Build Consistent Aim
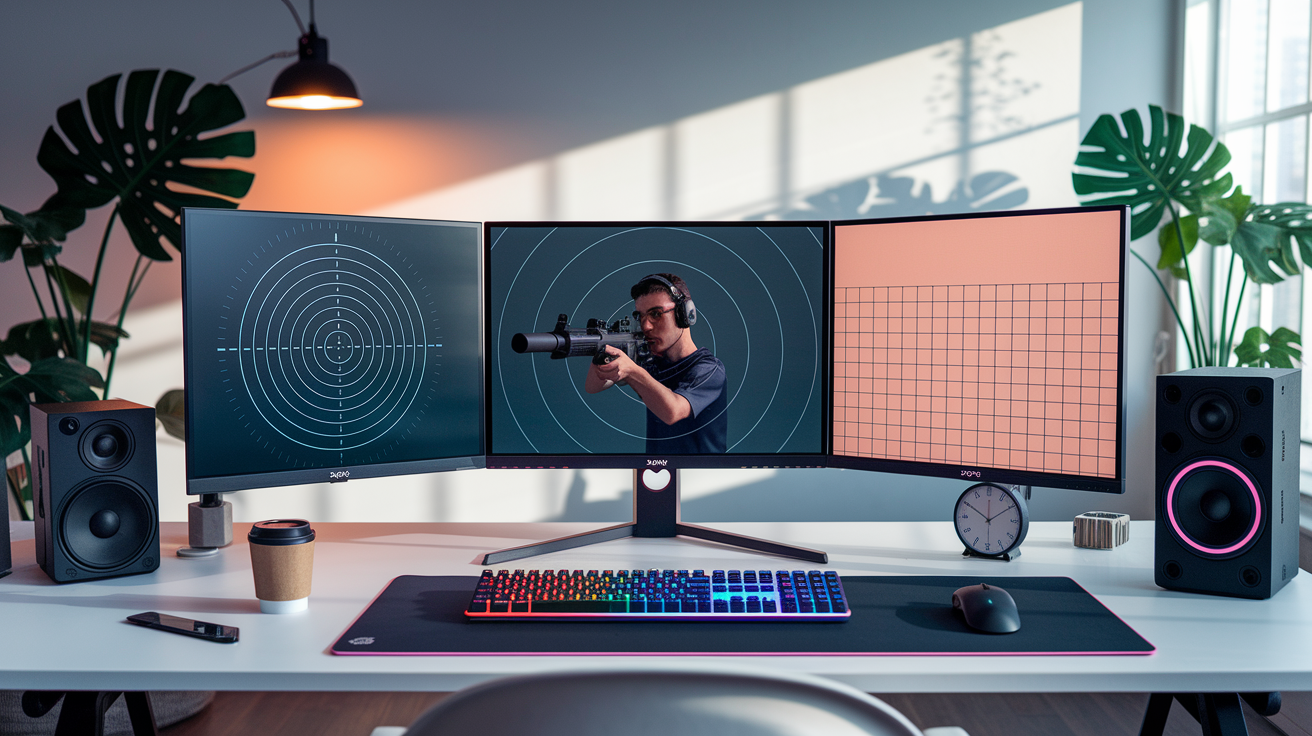
Warm up for 10 to 20 minutes before you queue for competitive matches. A structured warm-up primes your hands, eyes, and reaction speed without draining the mental energy you need for ranked games. Players who skip warm-ups typically spend the first two rounds of a match re-learning their sensitivity and crosshair placement.
Use a simple three-part structure. Spend 5 minutes on flick shots in deathmatch, 10 minutes on tracking moving targets while strafing yourself, and 5 minutes on recoil control against bots or a practice range. This sequence wakes up fast-twitch muscles, builds smooth tracking coordination, and reinforces spray discipline in 20 minutes or less.
Join a deathmatch server and focus only on acquiring new targets quickly. Ignore kills and deaths, just snap your crosshair to each new enemy as fast as you can and fire one shot. That’s your flick phase, 5 minutes.
Stay in deathmatch but switch to tracking enemies while you strafe left and right, keeping your crosshair on their head or chest for one full second before shooting. Practice moving your mouse smoothly instead of making jerky corrections. That’s your tracking phase, 10 minutes.
Move to a bot lobby or weapon range and fire 10 controlled bursts at a wall or target, watching your bullet spread and adjusting your pull to keep all rounds grouped in a head-sized circle. That’s your recoil phase, 5 minutes.
Run this routine four to six times per week in 15 to 30 minute sessions rather than grinding one long 2 to 3 hour session on the weekend. Frequent short practice builds muscle memory faster than infrequent marathon training because your brain consolidates motor skills during sleep between sessions. I used to warm up whenever I felt like it and my first three ranked games were always rough. Now I do 15 minutes every day before I queue and I’m sharp from round one.
Posture, Ergonomics, and Hardware Choices That Improve Aim
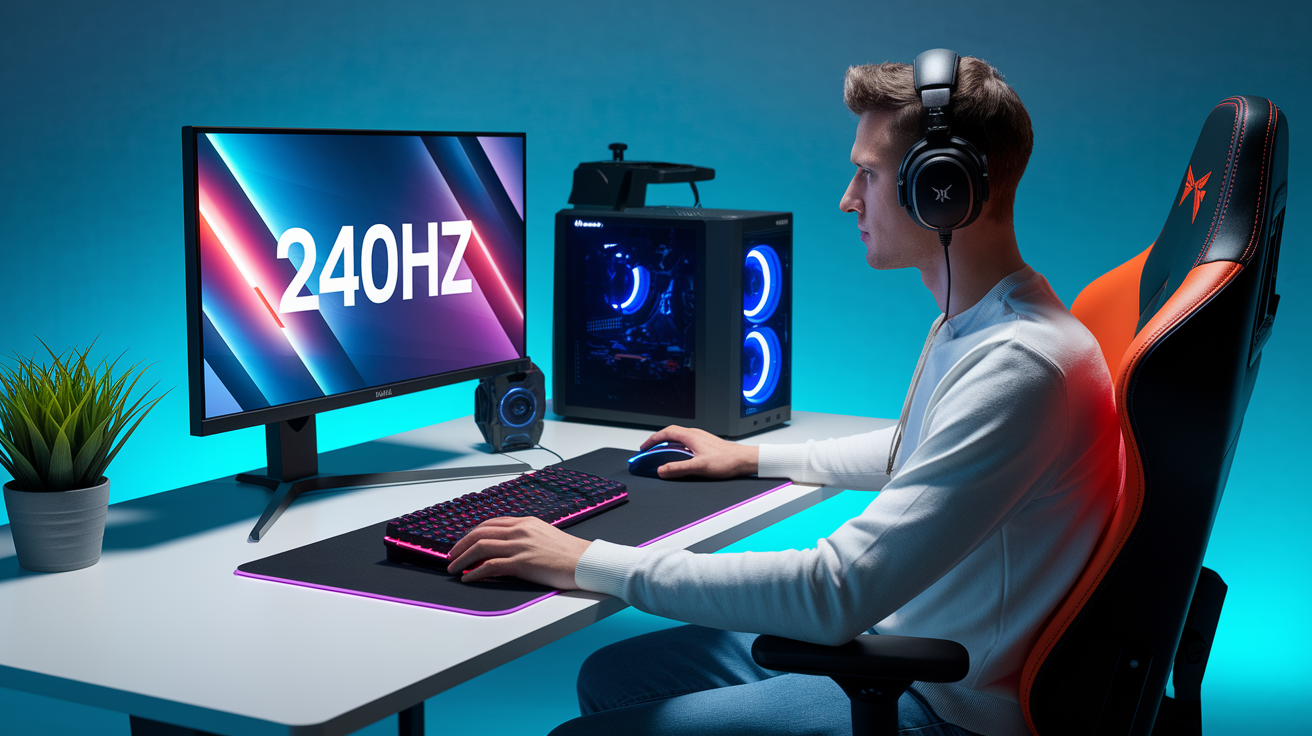
Sit with your elbows bent at 90 to 110 degrees and your forearm roughly parallel to your desk surface. Keep your wrist in a neutral position. Minimal flexion up or down. Use your whole arm for large mouse movements while reserving wrist motion for small adjustments. Chair height should let your feet rest flat on the floor with your knees at about 90 degrees, preventing lower back strain during long sessions.
Choose a mouse that weighs 60 to 90 grams for balanced control. Lighter mice (under 60 grams) allow faster flicks but require steadier hand control to avoid over-correction. Heavier mice (90 to 130 grams) offer more stability for tracking at the cost of slower repositioning speed. Match your mousepad size to your sensitivity. Large pads (40 to 45 centimeters square) suit low eDPI players who make wide arm movements, medium pads (36 by 28 centimeters) work for mid-range settings, and small pads (20 by 25 centimeters) fit high-sensitivity wrist aimers.
Aim for a monitor refresh rate of at least 144 Hz and a steady frame rate of 120 FPS or higher. The sweet spot is a 240 Hz monitor paired with a stable 240-plus FPS, which reduces motion blur and input lag enough that you can track fast-moving targets without your screen turning into a smear. Precision suffers noticeably below 100 FPS. If your system struggles, lower graphics settings until you hit that minimum before worrying about aim technique.
Check elbow and wrist angles. Adjust chair height and desk position so your forearm is level and your wrist stays flat, not bent up or down. Test mouse weight and grip. Try different grip styles (palm, claw, fingertip) and pick a mouse weight that feels controlled during both slow tracking and fast flicks.
Match mousepad to sensitivity. Use a large pad if your eDPI is under 300, medium if 300 to 600, small if over 600. Verify monitor and FPS. Check your in-game frame counter and monitor refresh rate in display settings. Upgrade monitor or lower graphics if FPS drops below 100.
A reliable gaming mouse costs 30 to 150 USD, with most good 60 to 90 gram options in the 50 to 120 USD range. Quality mousepads run 10 to 40 USD, so you can improve your setup without spending hundreds.
Reaction Time, Focus, and Mental Habits for Better Aim
Average human reaction time sits around 200 to 250 milliseconds. Focused practice combined with proper rest can reduce that window by 20 to 50 milliseconds over several weeks. Sleep 7 to 9 hours per night to keep reaction speed and decision-making sharp. One night of poor sleep can slow your reactions by 30 to 60 milliseconds and tank your accuracy for the entire next day.
Structure your play into 20 to 40 minute blocks with 5 to 10 minute breaks between each block. Limit concentrated competitive sessions to 90 to 120 minutes before taking a longer rest. Mental fatigue accumulates faster than physical fatigue and shows up as missed shots, bad positioning, and slow target acquisition. Use breaks to stand, stretch, and look at something farther than your monitor to reset eye focus and reduce strain.
Track your baseline reaction time. Use a free online reaction test once per week and note your average. Look for trends over a month rather than day-to-day noise. Take deliberate breaks. Set a timer for 40 minutes of play, then stand up and move for 5 to 10 minutes. Walk, stretch, or grab water.
Prioritize sleep over grinding. One extra hour of sleep improves aim more than one extra hour of late-night practice when you’re already tired. Limit caffeine to 100 to 200 milligrams. A moderate dose can temporarily sharpen reaction time by 10 to 20 milliseconds, but overcaffeination causes jitters that hurt fine motor control.
Reviewing Footage and Tracking Progress to Improve Aim Long-Term
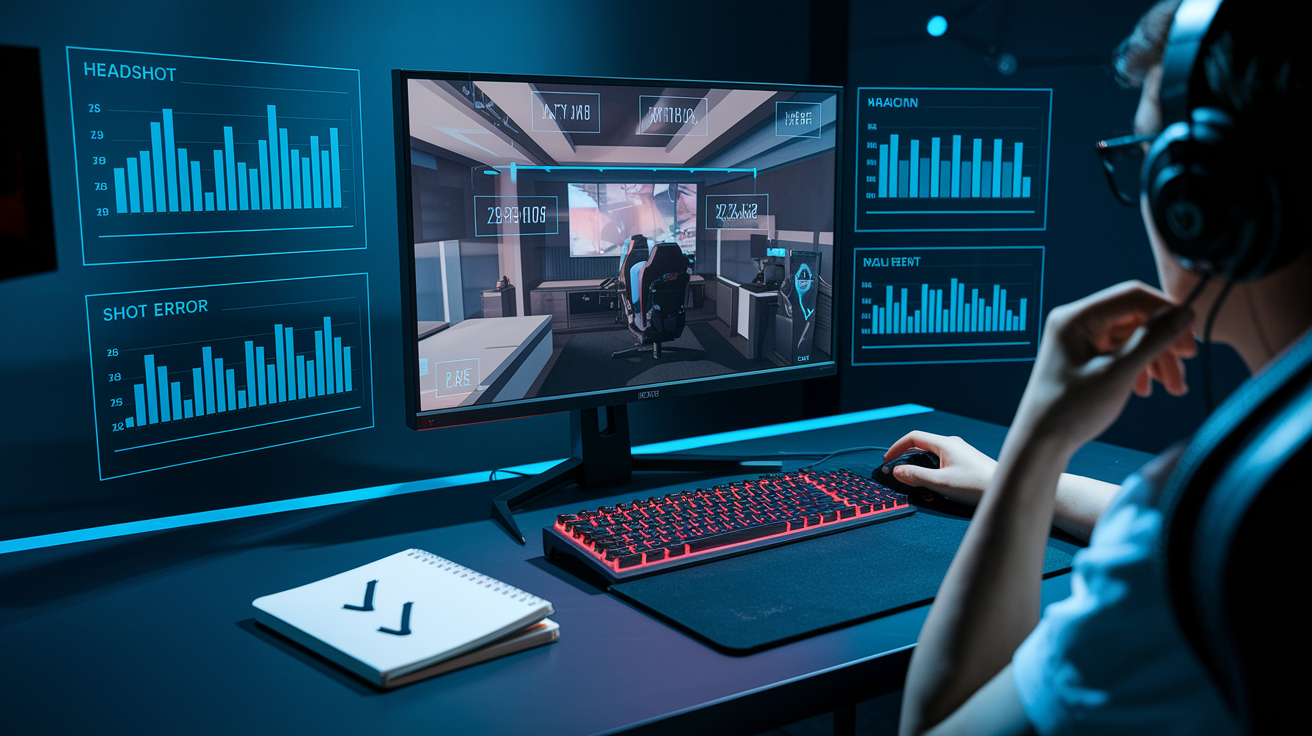
Record your matches or watch in-game replays to spot recurring mistakes. Most players assume their deaths come from bad aim, but clip review reveals that 60 to 80 percent of mistakes stem from poor positioning, predictable movement, or bad crosshair placement before the fight even starts. When you do find genuine aim errors (flicks that land wide, tracking that lags behind the target, or sprays that bloom too early), write down the specific cause and design a drill to fix it.
Track four core metrics weekly. Headshot percentage, average reaction time, shot error distance, and kill-to-death ratio in deathmatch or casual modes. Set micro-goals like reducing average miss distance by 10 percent over two weeks or improving headshot rate by 5 percent in seven days, then adjust your practice focus based on which numbers move and which stay flat.
| Metric | Target Range | Review Frequency |
|---|---|---|
| Headshot percentage | Increase by 5–10% every 7–14 days | Weekly |
| Reaction time (ms) | Reduce by 20–50 ms over 4–6 weeks | Weekly |
| Average shot error (cm on target) | Decrease by 10% every 2 weeks | Bi-weekly |
| Deathmatch K/D ratio | Steady upward trend over 1 month | Weekly |
Consistent measurement turns vague “practice more” advice into concrete actions. When headshot percentage stalls, run more headshot-only drills. When reaction time plateaus, check your sleep and break schedule. When K/D drops, review positioning clips instead of grinding more hours in aim modes. I thought I just sucked until I started logging my headshot rate weekly. I saw it climb 3 percent every 10 days for a month, then I knew the practice was actually working.
Final Words
in the action, we covered the essentials: keep your crosshair at head level, lock in a stable DPI and eDPI, use counter-strafing and angle discipline, learn recoil timings, and run match-like drills rather than endless warmups.
Make small, measurable changes. Test sensitivity for a week, track headshot %, and review clips to spot recurring errors. Follow posture and session-rest advice so fatigue doesn’t erode gains.
If you use these methods for how to improve aim in FPS games without aim trainers, expect steady, real improvement over weeks.
FAQ
Q: How to actually improve aim in FPS games?
A: Improving aim in FPS games requires consistent crosshair placement, stable sensitivity (400–800 DPI; eDPI ~200–400), angle discipline, controlled movement, and regular in‑game drills like deathmatch and bot bursts to build muscle memory.
Q: Is there a free aim trainer?
A: A free aim trainer exists: several browser and downloadable options are free, and built‑in modes like deathmatch or bots let you practice aim effectively without extra paid software.
Q: Why do PC players hate aim assist?
A: PC players hate aim assist because it reduces mouse precision, feels unfair in crossplay, and creates inconsistent, automated tracking that weakens skill expression and predictable aiming outcomes.
Q: Does 144hz improve aim?
A: A 144Hz monitor does improve aim by smoothing motion and cutting input lag, making tracking and flicks easier, but benefits appear only if your PC delivers high, stable frame rates.