


Want to climb solo queue fast?
Stop treating kills like the goal—objectives win games.
This guide lays out clear priorities for early, mid, and late game so you make the right call every time.
You’ll get universal rules, a simple decision tree, and role-specific tips for junglers, carries, tanks, and supports.
Follow them and you’ll convert small wins into towers and match-ending advantages instead of throwing leads.
Read on to learn the exact checks to run before contesting, trading, or starting any objective.
Core Objective Priorities Across Early, Mid, and Late Game
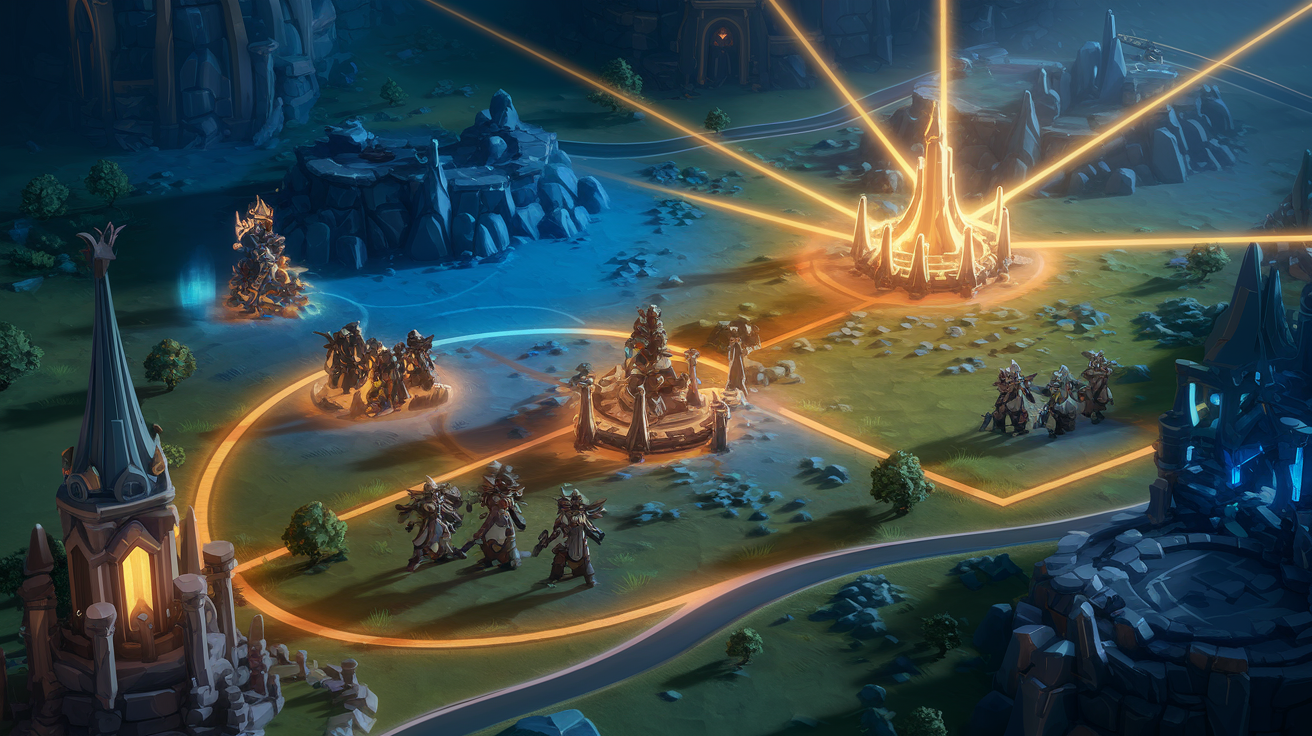
Early game is about setting up your advantages without gambling them away. You want lane control through consistent last-hitting and wave management, soaking around 70% of available experience while denying enemy farm when it’s safe. Small neutral objectives like jungle camps (50–150 gold each) and early team buffs? Only grab them when vision confirms enemies are elsewhere or after a successful gank. Don’t force fights around contested objectives unless you’ve got a clear numbers advantage or their jungler just showed on the opposite side of the map. This phase isn’t about making hero plays. It’s about building foundations.
Mid game is where you convert won fights into actual map advantages. After securing outer towers (roughly 150 gold each), rotate immediately to press elsewhere or contest medium-priority neutrals when enemy ultimates are down or their team is scattered. Decisive action after small wins matters here. If you get a pick or force someone to recall, push the nearest objective instead of going back to farm. Trade objectives when contesting means fighting in poor vision or when enemies hold positional advantages near their base. Most mid game throws happen when teams force fights they can’t cleanly win.
Late game becomes binary: secure match-ending advantages or prevent catastrophic losses. Major neutral objectives that provide siege power or permanent stat boosts take absolute priority when your team can contest with vision control and full cooldowns. Don’t extend matches through unnecessary farming when you’re ahead. Force decisive pushes after winning teamfights or securing the primary late-game objective. Death timers of 40+ seconds mean a single lost fight ends the game, so treat every engagement as potentially final. Never contest objectives when key teammates are missing or respawning within 15 seconds.
Universal Priority Rules Across All Stages:
Check minimap every 3–5 seconds during laning and every 5–10 seconds during rotations to track enemy positions before committing to any objective. Never contest objectives when you lack vision of the surrounding area or when enemies are missing from the minimap. Prioritize objectives you can secure within 10–15 seconds over those requiring extended commitments that allow enemy rotations. Always maintain a clear retreat path before touching any objective. Avoid positions where two or more enemies can collapse on your escape route. Convert every won fight into immediate objective pressure rather than recalling or farming. The window closes within 20–30 seconds. When uncertain about an objective call, slow your decision speed by roughly 10% to gather additional information rather than forcing action.
Decision Trees for Objective Selection
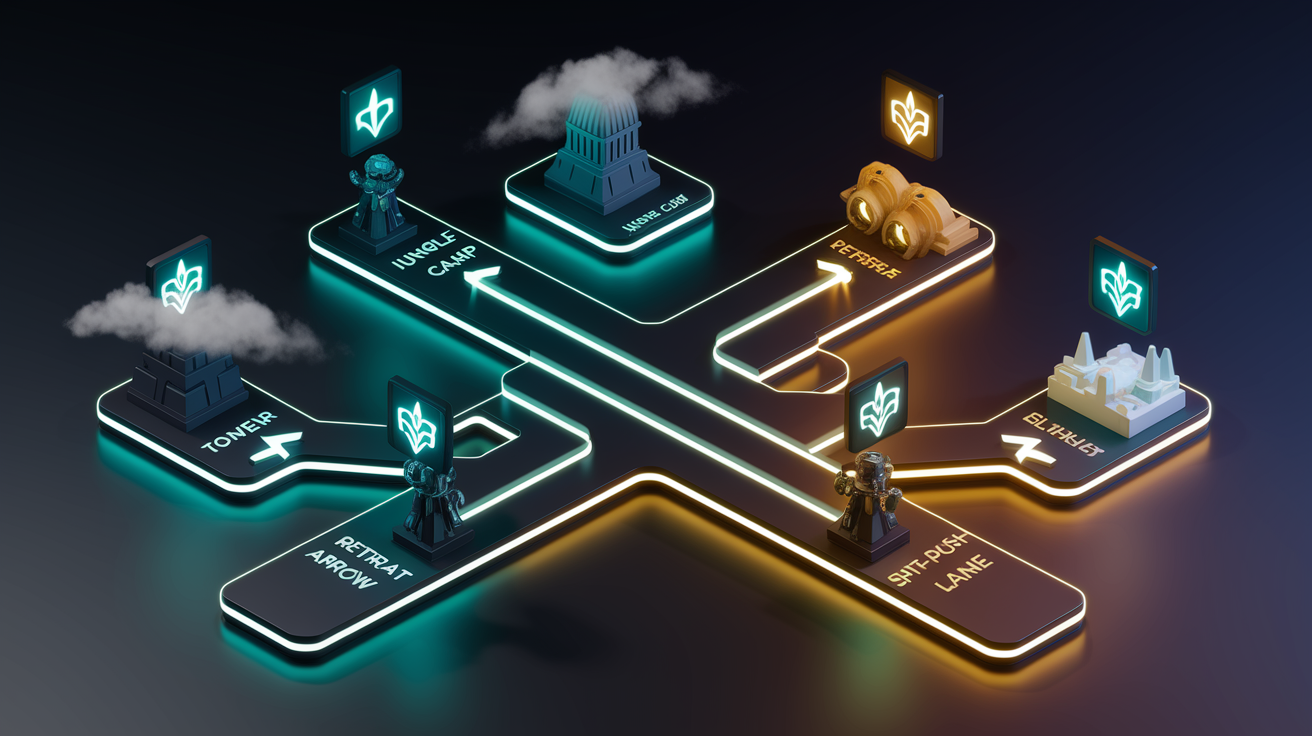
Solo queue suffers from coordination gaps that organized teams avoid through voice communication and shared game plans. A structured decision tree eliminates hesitation by providing clear checkpoints that any player can evaluate independently. This reduces the common pattern where teams wander the map without purpose after winning a fight. These frameworks work because they prioritize information you can verify yourself: minimap data, cooldown status, wave positions. Not assumptions about teammate intentions or skill levels.
The following process applies to any moment when you must choose between multiple objectives or decide whether to contest, trade, or abandon an objective entirely. Each step filters out high-risk choices before you commit resources. The goal is selecting objectives that offer the highest probability of success given current game state.
-
Check enemy positions on minimap. Count visible enemies and note missing players. If three or more are missing and not confirmed dead, skip to step 6 (trade evaluation).
-
Assess local numbers advantage. If you outnumber visible enemies near the objective by two or more, proceed to the objective unless ultimate abilities are unavailable. If numbers are even or disadvantaged, skip to step 6.
-
Evaluate key cooldowns. Verify your team’s primary engage tools, crowd control, and burst damage are available. If your team’s most impactful abilities are on cooldown longer than 20 seconds, delay or trade.
-
Verify wave states. Ensure minion waves aren’t crashing into your towers (which would cost 150+ gold in lost farm). If waves require attention, clear them first or trade the objective.
-
Confirm vision coverage. Place or verify vision around the objective approach paths. If you can’t safely ward or have no vision of enemy rotations, treat the objective as contested and evaluate risk again.
-
Trade evaluation. If previous steps indicate high contest risk, identify what you can take safely elsewhere (side lane tower, enemy jungle camps, opposite-side pressure). Taking a guaranteed smaller gain beats losing a fight at a contested objective.
-
Commit with retreat plan. If all checks pass, move to the objective but maintain positioning that allows retreat within 2–3 seconds if enemies appear. Never commit abilities or health to the point where you can’t disengage cleanly.
Situational Factors That Change Objective Priority

Vision control and tempo advantages override static priority rules in most real-game scenarios. When your team holds deep enemy jungle vision and has recently cleared enemy wards around a major objective, that objective’s effective priority increases because the contest risk drops substantially. You can start the objective and abandon it if enemies appear, or finish it safely if they remain off-map. Playing without vision around high-value objectives turns them into traps, since enemies can position for ideal engages while your team clusters predictably. Tempo shifts occur after successful fights or when enemies are forced to defend split-push pressure, creating windows where objectives that would normally require team coordination become safe solo or duo opportunities.
Item spikes and power windows fundamentally alter what you can contest. A carry who completes a core item (gaining 2000+ gold worth of stats) can often force objectives that were previously too risky, especially if enemy item timings lag behind. Track relative power by comparing team gold totals when visible. A 3000+ gold lead typically means you can force any objective except those requiring siege time that allows enemy scaling champions to stall. Death timers create the clearest windows. If an enemy’s death timer shows 35+ seconds and they’re a key engage or waveclear champion, you have roughly 25 seconds of safe objective time after accounting for travel distance. Avoid starting long-duration objectives when multiple enemies will respawn within 15 seconds, since partial fights where you lose members one at a time almost always result in objective loss and potential ace.
Objective trading becomes optimal when contesting costs more resources than the objective provides, or when the alternative objective holds greater strategic value given your team composition. If enemies commit four players to defend a medium-priority neutral objective and your team includes strong split-pushers, trading that objective for a guaranteed tower creates better map pressure and gold income. Towers provide permanent map control while neutral buff durations expire. Evaluate trades by comparing guaranteed gains against contested risks: a side lane inner tower worth 150+ gold taken safely outweighs a 50% chance to contest a dragon type that provides minimal combat stats. When your team composition favors poke or disengage rather than hard engage, trading objectives exploits your strengths by avoiding the forced teamfights that benefit enemy compositions built around engage tools and sustained brawling.
Role and Champion-Class Adjustments to Objective Priority
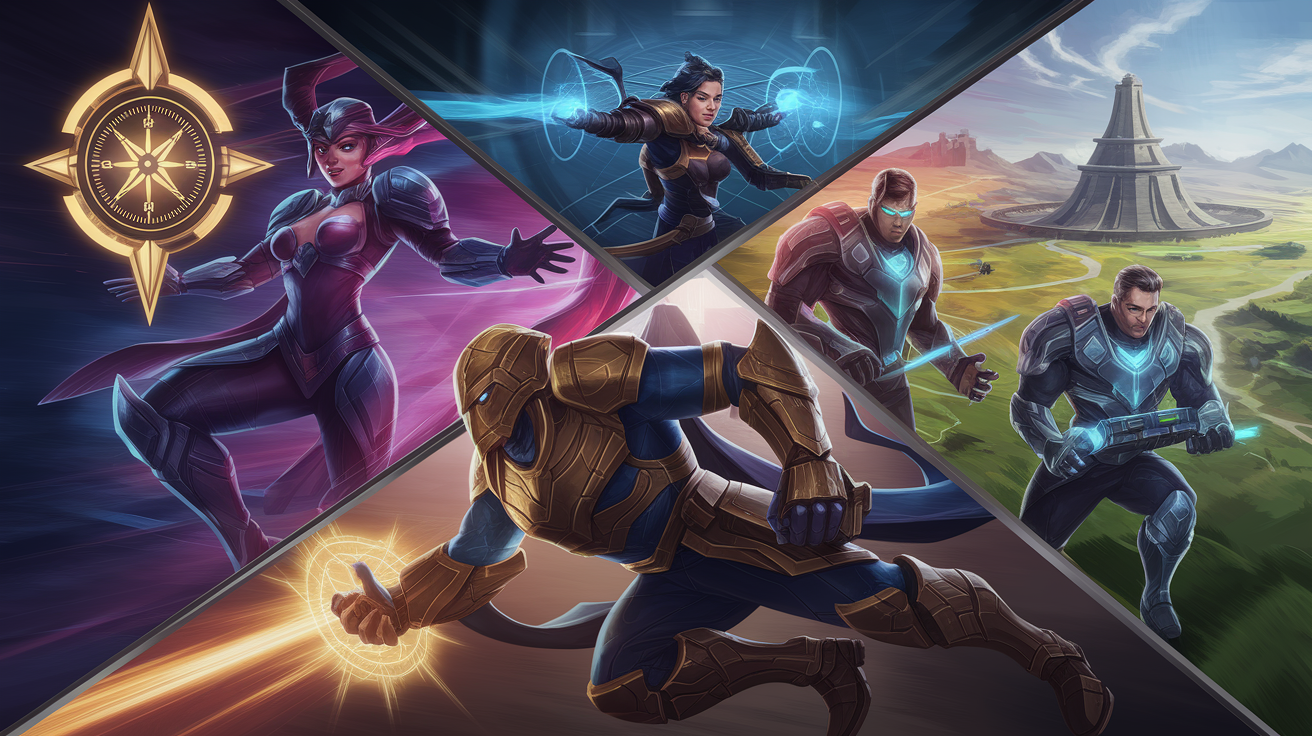
Junglers function as the primary objective timers and setup coordinators in solo queue because they naturally move between lanes and track neutral objective spawn times. Your core responsibilities include securing buffs for appropriate teammates (red buff for marksmen, blue buff for mana-dependent champions), controlling vision around major objectives 30–60 seconds before spawn timers, and making the initial move toward objectives after successful ganks or when enemy jungle pathing is confirmed elsewhere. Ping objectives and start moving toward them immediately after securing picks. Your positioning signals intent to teammates more effectively than chat messages. When playing from behind, use major objectives as bait by establishing defensive vision and waiting for enemies to cluster predictably before looking for picks or disengage opportunities.
Carry champions (damage-focused marksmen, mages, assassins) should treat objective participation as secondary to staying alive and reaching item breakpoints unless the objective is already secured. Your death during an objective contest often costs more than the objective provides, especially in late game when death timers exceed 40 seconds. Focus on positioning that allows safe damage output during objective fights rather than touching the objective directly. Let tankier teammates take the initial risk while you remain at maximum effective range. Join objective attempts only when vision confirms safety or after your team has won the fight decisively. Marksman players specifically should prioritize obtaining red buff before contesting any major objective, since the additional damage and slow effect significantly increases fight-winning probability.
Support and tank champions carry the primary responsibility for vision control and fight initiation around objectives. Place wards at jungle entrances and river crossings 30–60 seconds before objective timers and clear enemy vision with control wards when your team plans to contest. Your positioning during objective setup determines whether your team can engage favorably. Establish angles that allow you to initiate when enemies approach while your team maintains safe spacing behind you. Deny enemy vision by standing in objective pits or brushes to prevent wards being placed, then sweep the area before your team commits. When your team lacks clear engage or hard crowd control, shift to peel positioning and use objectives as defensive bait rather than attempting to force fights your composition can’t win.
Split-push champions and duel-focused bruisers create cross-map pressure that forces objective trades rather than contests. When your team groups for a major objective, push the furthest side lane to threaten towers and force enemy rotations. One enemy rotating to stop you creates a 4v4 at the objective with your team holding better positioning, or you take a free tower if they ignore you. Timing is critical: start your split-push pressure 15–20 seconds before the objective spawns so enemies must choose between defending their structures and contesting the objective. Maintain deep vision in your split-push lane and always have an escape route prepared, since getting caught eliminates the entire purpose of creating pressure. If enemies send two or more champions to stop you, your job is complete. Stall them while your team takes the objective 5v3 or 5v2.
Common Objective Mistakes in Solo Queue
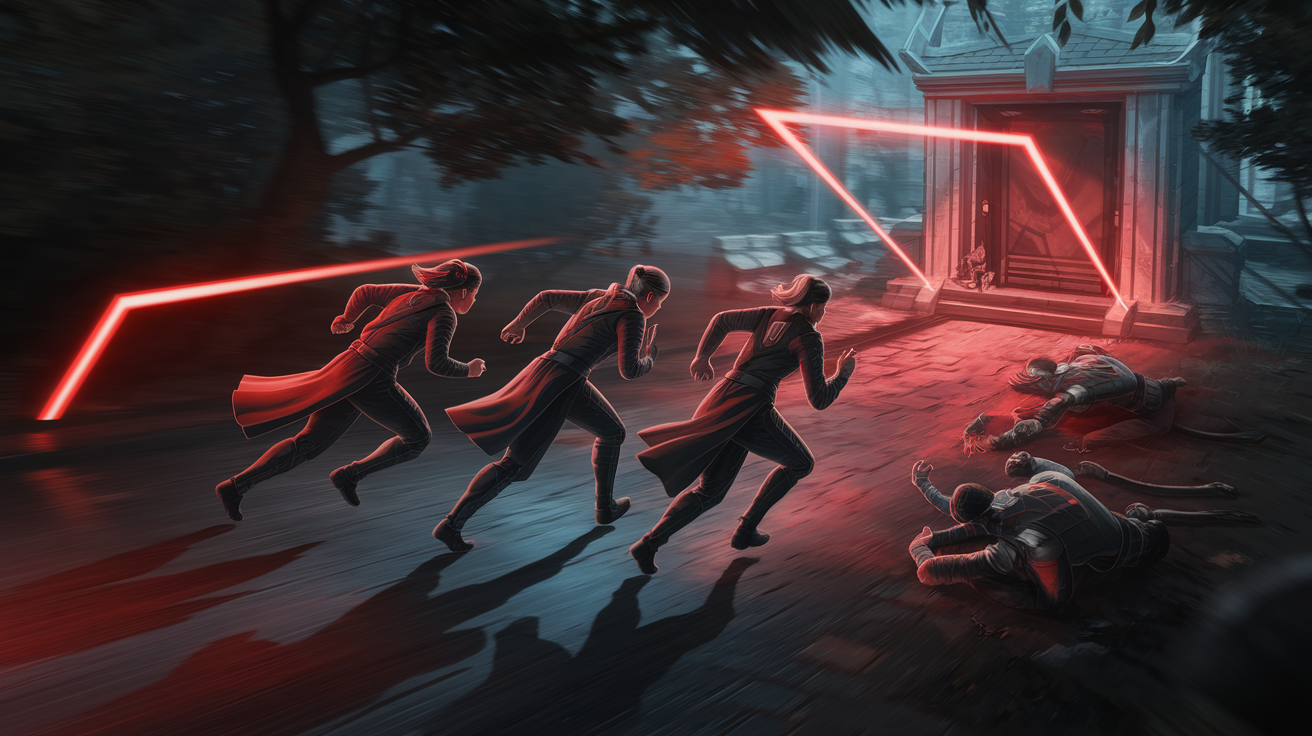
Solo queue objective mistakes cluster around risk assessment failures and priority confusion that organized teams avoid through communication. Players frequently force fights around objectives when vision is poor or teammates are scattered across the map, turning what could be a safe trade into a lost teamfight and map control swing. The pattern repeats at all skill levels: a team wins a fight, chases remaining enemies for kills instead of immediately taking the nearest objective, then loses the next fight because they spent their advantage on 300 gold in kills rather than 500+ gold in structures and map control.
Overvaluing kills relative to objectives stems from immediate feedback. Kills provide instant gold and feel productive, while objective value accrues over time through map pressure and income advantages that are harder to perceive in the moment. A secured outer tower opens jungle access, increases safe farm area, and provides 150+ gold to multiple players, but taking it requires 10–15 seconds of unsexy structure damage that feels less satisfying than a highlight-reel chase. Late game amplifies this mistake: teams throw won games by chasing final kills instead of ending, allowing enemies to respawn and defend or find a desperation teamfight that swings the match.
Five High-Frequency Objective Misplays:
Starting major objectives when key teammates are dead or recalling, creating 3v5 or 4v5 situations that guarantee lost fights. Contesting neutral objectives without establishing vision first, allowing enemies to engage from unexpected angles with full coordination. Forcing fights around low-priority objectives (early dragons with weak buffs) while abandoning safer, higher-value targets (outer towers, enemy jungle camps). Failing to convert fight wins into immediate objective pressure, instead recalling to spend gold and losing the tempo window entirely. Attempting inner towers without controlling nearby minion waves, resulting in tower damage trades that favor the defending team.
Macro Strategy Principles for Long-Term Objective Control

Wave management determines objective timing more than any other single factor in sustained map control. Slow-pushing large waves toward enemy towers 30–45 seconds before major objectives spawn forces enemies to choose between losing 150+ gold in minion experience and gold or conceding vision and position around the objective. This “wave syncing” technique works because clearing a stacked wave under tower requires 15–20 seconds, during which your team can start the objective or establish superior vision control. Freeze waves near your tower when you need to deny enemy objective timings. If opponents can’t safely push out and reset waves, they can’t rotate to contest objectives without sacrificing multiple waves worth of farm and experience.
Maintaining cross-map pressure prevents enemies from collapsing cleanly on contested objectives. When your team groups for a major objective, ensure at least one lane has pressure building toward an enemy tower, forcing them to either send a defender (creating numbers disadvantage) or accept structural damage. This principle scales with game time: early game pressure might be a single pushed wave, mid game requires threatening outer towers, late game demands that all three lanes have minions pushing toward enemy base to maximize their defensive burden. Avoid the common mistake of grouping all five players at one objective while enemy waves crash into your towers. You trade potential objective gain for guaranteed gold and experience loss.
Rotations that follow objective attempts determine whether small advantages compound into game-winning leads. After securing any objective, immediately assess which lane offers the safest follow-up pressure rather than recalling or returning to default farming patterns. The correct rotation usually targets the lane closest to the objective just taken, since enemies are still regrouping and the map pressure continues naturally. Failed objective attempts require defensive rotations toward lanes where enemies are likely to push their advantage. Predict where they’ll move next and establish defensive vision before they arrive.
| Principle | Impact |
|---|---|
| Wave sync before objectives | Forces enemy farm-vs-position choice, creates 10–20 second windows for safe objective starts or vision setup |
| Maintain split pressure during groups | Prevents clean 5v5 collapses, creates rotation dilemmas, generates guaranteed structural damage when enemies contest |
| Chain rotations after objectives | Converts single wins into multiple gains, preserves tempo advantage, compounds small leads into game-deciding control |
Final Words
Start in the action: pick objectives by phase — safe lane plays and small goals early, rotations and tower trades mid, and fighting for major bosses late.
The piece gives a simple decision tree, six universal rules, role-specific tips, common solo-queue mistakes, and macro principles like wave syncing and sustained map pressure.
Use this objective prioritization guide for MOBA solo queue to try one small change per game — track a timer or make cleaner rotations. Do that and you’ll see steadier wins.
FAQ
Q: What is the best lane to climb in solo Q?
A: The best lane to climb in solo queue is usually mid or jungle because they control tempo and help other lanes; pick a comfort pick, master roaming and wave control, then pressure objectives.
Q: How hard is it to solo queue to champ?
A: Solo queuing to champ is challenging but achievable with steady improvement in mechanics, map awareness, and decision-making; focus on objective play, limit tilt, review replays, and climb consistently.
Q: Which agent or hero is best for solo queue?
A: The best agent or hero for solo queue is a reliable, carry-capable champion with simple escape or sustain and strong lane presence; prioritise meta picks you know and aim to snowball lanes into objectives.